
Last updated November 18, 2026








Free written scope consultation - allowances, timeline, and change-order rules on paper before a single trade is scheduled
Bathroom Remodeling Troubleshooting: Common Problems and How to Fix Them
Tile grout that cracks within the first three months almost never means bad grout. It means the substrate moved, which means the substrate wasn’t prepared correctly, which means water now has a path to the wall framing. A bathroom remodel failure rarely announces itself on day one. It shows up at 60 or 90 days, when a hairline in the grout becomes a gap, when the caulk at the tub pulls away, when the drain starts gurgling a little slower than it used to. This guide is about reading those signals early, in a Garland home where the summer humidity and clay soil already work against you, and knowing which ones you can handle and which ones need the contractor back.
Quick Answer
Most bathroom remodel problems after completion fall into four buckets: movement (cracked grout, separated caulk), moisture (leaks, mold, soft drywall), drainage (slow drains, gurgling), and finish failures (loose tile, peeling paint). Movement and moisture issues usually trace back to substrate or waterproofing work and need the original contractor to return under warranty. Drainage issues are often construction debris or a venting mistake and are quick to diagnose. A finish failure that appears in the first 90 days is almost always an installation problem, not a material defect.
Styles & brands we work with
- Kitchen remodeling
- Bathroom remodeling
- Home additions & ADU
- Roofing
- Windows & doors
- Driveway & pavers
- Fence
Table of Contents
- How to diagnose a cracked grout line
- What a slow drain after a remodel really means
- Why caulk at the tub-to-tile joint fails
- Checking the waterproofing behind the tile
- How to document problems for a warranty claim
- What you can fix yourself vs. what voids the guarantee
- Garland-specific issues: humidity, clay soil, older housing stock
How to diagnose a cracked grout line
A cracked grout line is a symptom, and the location of the crack tells you most of what you need to know. Walk the bathroom with a flashlight and mark every crack with painter’s tape before you call anyone. The pattern matters more than the count.
Three diagnoses cover almost every case:
- Substrate movement. Cracks that run in a straight line along a sheet seam or follow a consistent diagonal usually mean the backer board wasn’t fastened correctly or the subfloor flexes. In Garland homes built in the 1970s and 1980s, we regularly see this over older plank subfloor that needed a plywood overlay and didn’t get one. This is a warranty issue and needs the contractor back.
- Missing movement joint. Cracks at the inside corners of a shower or where tile meets a different plane are supposed to be filled with flexible sealant, not grout. Grout in a corner always cracks because the two walls move independently. This is a real installation defect, but it’s usually remedied without ripping anything out: the joint gets raked and sealed with 100% silicone.
- Normal settling. A single hairline crack in a field of tile with no gap, no softness, and no moisture nearby is often benign in the first year. Monitor it. If it widens or spreads within 30 days, treat it as movement.
The one that requires immediate action is any crack with moisture at the edges, discoloration, or a hollow sound when you tap the tile. That combination means water is already behind the tile, and the longer it sits, the more wall framing it reaches. Call the contractor that same week. If you’re still in the planning stage and want to avoid this entirely, our Bathroom Remodeling in Garland page covers how we sequence substrate and waterproofing before a single tile goes down.
What a slow drain after a remodel really means
A slow drain appearing within weeks of a bathroom remodel is almost always one of three things, and you can narrow it down yourself in about ten minutes. The order of elimination matters, because guessing wrong can mean paying for a plumber’s visit you didn’t need.
- Construction debris. Grout, thinset, and drywall dust get pushed into the drain during the final weeks. A trap full of grit restricts flow gradually. This is the most common cause and the easiest to fix. Pull the stopper and shine a light down the drain. If you see a film of grey silt, you’ve found it.
- Venting problem. If the drain runs slowly but the toilet in the same bathroom flushes fine, and you hear gurgling after water drains, the venting is suspect. A remodel that moved a fixture or capped an old vent can create a partial vacuum. This needs a licensed plumber and should not be ignored.
- Slope problem. If the shower pan or tub drain was set with incorrect slope, water pools slightly and drains slowly from day one. The tell is that it never got better and never got dramatically worse over the first month. Slope errors mean the pan has to be rebuilt.
The diagnostic test: fill the sink or tub with water, pull the plug, and time how long the drain takes to clear. Then flush a nearby toilet and listen. Gurgling during the drain test points to venting. Silt in the trap points to debris. Consistency across weeks with no gurgle points to slope. In Garland homes where the bathroom sits on a slab with a short drain run, the slope issue shows up more often than homeowners expect, because there’s less fall over a shorter distance.
Why caulk at the tub-to-tile joint fails
The caulk line where the tub meets the tile wall is the highest-failure joint in any bathroom, and it fails for a specific reason: it was grouted instead of caulked, or it was caulked over wet substrate, or it was caulked with the wrong product. All three are installation errors, and all three look identical from the outside until water gets behind the tile.
Proper installation looks like this: the tub is set and the wall is finished, then the gap between tub and tile is cleaned and dried completely, then a flexible 100% silicone sealant is applied in a single continuous bead on both sides of the joint. No grout. No painter’s caulk. No “caulk and tool with a wet finger” shortcut that pulls the seal off the tile edges. Some installations, especially over cast iron tubs on a wood subfloor, also require a backer rod so the sealant can flex with the tub movement rather than tearing.
To inspect your joint, look for these signs:
- Grout (hard, sandy texture) where sealant should be. Fail.
- A bead of caulk that has pulled cleanly away from one edge, showing no adhesion on one side. Wrong product or wet substrate at application.
- Cracks at either end of the bead where it meets the corner. Movement caught before it spread. Fixable with a fresh bead.
- Black discoloration behind or under the bead. Moisture has been sitting. Call the contractor, because this may indicate the waterproofing behind the tile is compromised.
If the caulk was done correctly and fails early anyway, the substrate behind the joist or the tub itself is moving more than the sealant can accommodate. That’s a structural conversation, not a caulk conversation. For the sequencing we use on Garland projects so this joint doesn’t come back, see our guide to the General Contractor in Garland who manages the trade coordination.
Checking the waterproofing behind the tile
Waterproofing is the part of a bathroom remodel you can’t see after the job is done, which is why it’s the part most likely to fail silently. The two acceptable systems are a liquid-applied membrane over cement board substrate (the moisture-resistant layer behind your tile) or a bonded sheet membrane. Both have to be applied to a properly prepared surface, with seams and corners reinforced, and with the shower pan properly sloped to the drain.
You can’t see the membrane after the tile is up, but you can test for its presence indirectly:
- Look at the floor, wall, and ceiling around the shower after a long, hot shower. Any new bubbling paint, soft drywall, or dark stains mean moisture is escaping the shower enclosure.
- Check the ceiling beneath the bathroom if it’s on a second floor. A yellow or brown ring underneath the shower is the classic sign of a failed pan.
- Look for a small access panel near the shower valve. Most reputable installers leave one, and being able to see the valve and the back of the wall is a sign the waterproofing was handled with care.
- Press a dry paper towel against the lower wall tile after a shower. Dampness that persists more than 30 minutes means water is wicking through grout into the substrate.
If any of those signs are present, stop using the shower and call the contractor. Water behind tile in a Garland home during a wet spring is a mold issue waiting to happen, and the cost of treating mold is far higher than fixing the membrane. If you’re comparing bids for a future project, this is the single line item worth asking about up front.
How to document problems for a warranty claim
The homeowner who documents a problem in the first week almost always gets it fixed without argument. The homeowner who mentions it six months later has a much harder conversation, because the contractor has to determine whether the failure is a workmanship issue or wear and tear. Documentation is what protects you.
Do these five things the moment you notice a problem:
- Photograph the problem in context. Wide shot showing the room, middle shot showing the fixture, close-up showing the detail. Date-stamped images are ideal.
- Photograph the cause if you can find it. Wet paper towel, small moisture meter reading, tap test on hollow tile. Anything that supports the diagnosis.
- Write a dated log. One line per entry: what you saw, what you did, what changed over the next day. This is your timeline if the contractor pushes back.
- Take a short video. Ten seconds of the drain flowing, of the crack when you press it, of the caulk gap. Video settles most disputes about “how bad” something is.
- Read your contract before you call. Specifically, find the workmanship warranty clause and the coverage window. Write down the date the window closes.
Send the log and photos in one message to the contractor with a short summary. Every project we do carries the 365-Day Done Right Promise in writing, which means a documented problem inside that window gets a free return visit, no service call fee. Read the written guarantee before you sign any contract, because the difference between a real warranty and a handshake is exactly this documentation trail.
What you can fix yourself vs. what voids the guarantee
Homeowners sometimes try to fix a small issue themselves and accidentally void the workmanship warranty. Here’s the line we draw, and the line most responsible contractors draw:
- You can usually fix without voiding coverage: surface caulk failure at fixtures not on a wet wall; paint touch-ups; a loose towel bar; a handle that spun loose; a threshold strip pulled up from foot traffic.
- Leave alone and call the contractor: anything involving the shower pan, tile substrate, waterproofing, the shower valve, the supply lines, the drain, or the grout field. Also leave any repair that requires removing a tile, a fixture, or a piece of the surround.
- Gray area, call first: grout sealing, since some sealers are not compatible with the original grout and can cause problems three months later; re-caulking the tub-to-tile joint yourself if you use the wrong product; replacing a shower head or valve trim yourself.
The rule of thumb: if your fix requires a tool beyond a caulk gun and a paintbrush, call the contractor first. A free return visit costs you nothing. A $600 repair to undo your fix costs you plenty and usually comes out of your pocket, not the warranty. Our Penhallow Remodeling Garland home page spells out exactly what the 365-day coverage includes so you know the boundary before you start.
Garland-specific issues: humidity, clay soil, older housing stock
Garland has some specific conditions that make bathroom remodel failures more likely and faster-moving than in other North Texas suburbs. Knowing them helps you read a problem correctly.
The muggy spring and autumn humidity here means caulk and grout in a bathroom with weak exhaust ventilation fails two to three times faster than in a drier climate. In the neighborhoods built out from the 1960s through the 1990s, we regularly see failures compounded by three things: exhaust fans vented into the attic instead of outside (a code violation that traps moisture), original cast iron drains under sludge buildup after a glass-block or tub-to-shower conversion, and clay soil that swells in wet months and shrinks in dry, which means the slab under a bathroom moves more than it did in 1985.
Any of those conditions can turn a small grout crack into a slow leak into a mold problem inside a single season. That’s why we install KraftMaid and Wellborn cabinets over a moisture check on the wall they meet, and why every shower job gets the slope verified before the tile goes over it. Boral and Tamko products show up on the exterior side of these remodels, but the interior systems are what fail first.
If your home was built before 1990 and you’re seeing movement cracks, the substrate is the thing to have inspected. Our Kitchen Remodeling in Garland team passes along a lot of the same substrate findings, because the two rooms share subfloor and framing issues in this housing stock.
Common Mistakes to Avoid
- Grouting a joint that should be caulked. Corners and tub-to-tile lines flex, and grout can’t. This is the most common installation error we correct on return visits, and it always cracks within a year.
- Using painter’s caulk in a shower. It’s cheaper and it isn’t waterproof when wet for months at a time. 100% silicone is the only sealant that belongs in a wet area.
- Caulking over wet substrate. If the joint wasn’t fully dry at installation, the caulk peels in weeks instead of years. This is why the pre-caulk drying step matters more than the caulk itself.
- Skipping the plywood overlay over old plank subfloor. Very common in Garland homes built between 1965 and 1985. Tile doesn’t care how new it is if the subfloor flexes.
- Venting the exhaust fan into the attic. A shortcut some builders took and some remodelers replicate. It pushes moisture straight into the structure. The fan must vent outside.
- Choosing tile sealant without checking compatibility. Some sealers react with original grout and cause a slow discoloration problem that looks like mold at month six.
- Not reading the warranty window. Most workmanship coverage is time-bounded. A problem reported on day 80 gets fixed. The same problem reported on day 400 becomes a paid repair.
See the difference
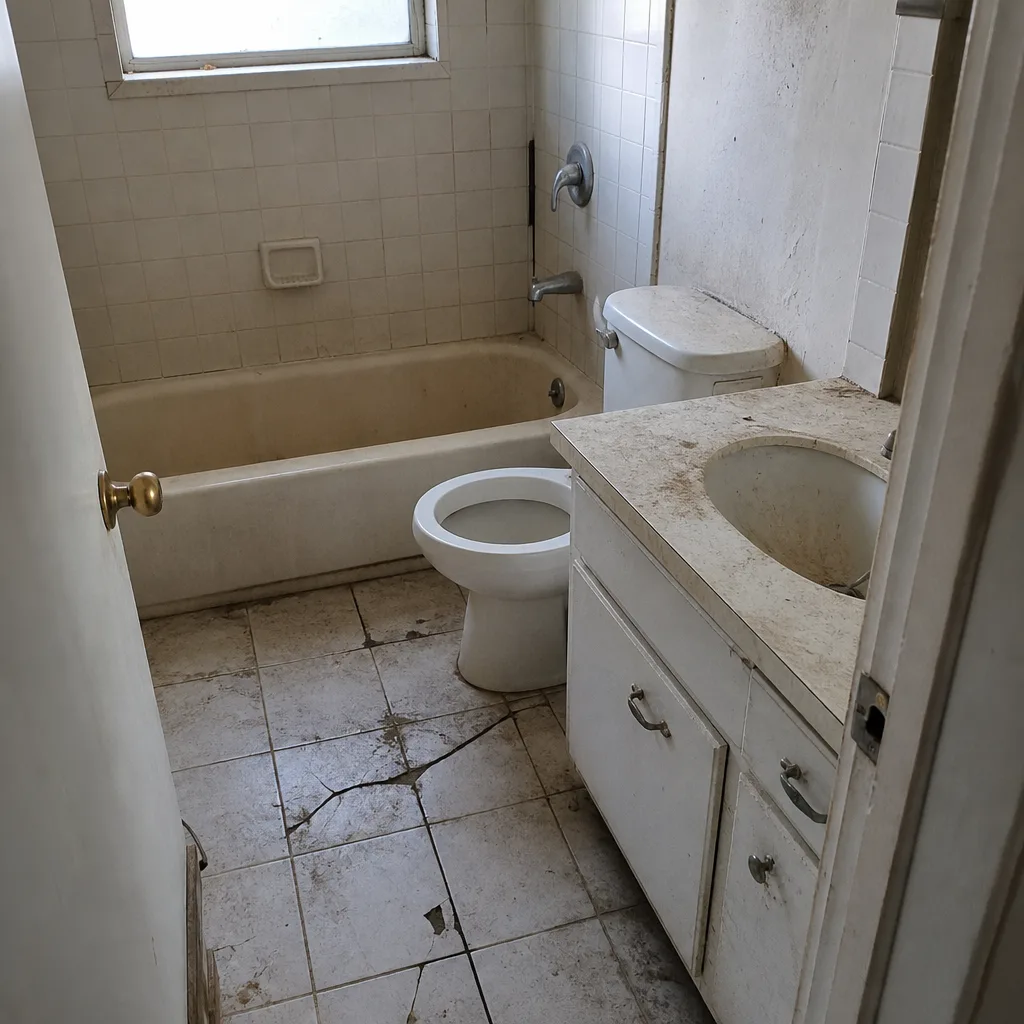 Before
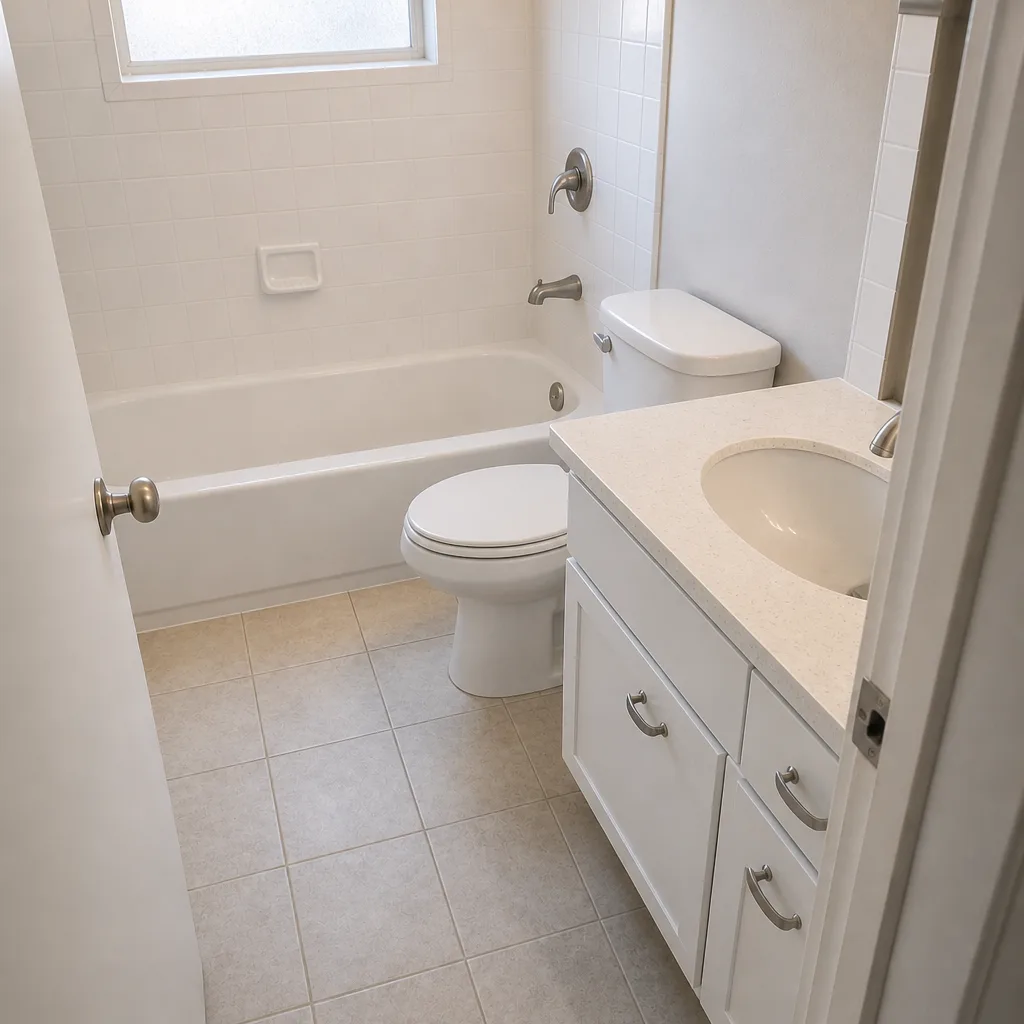 After
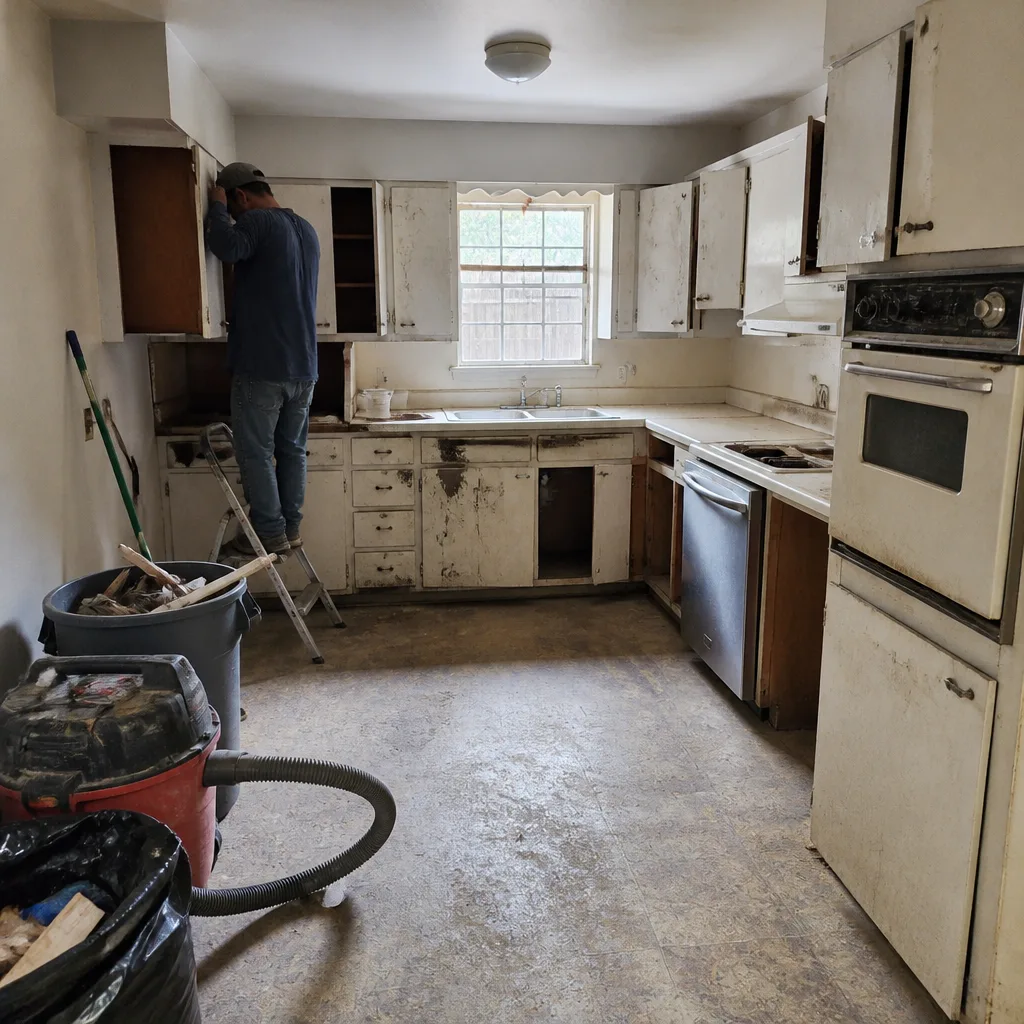 Before
 After
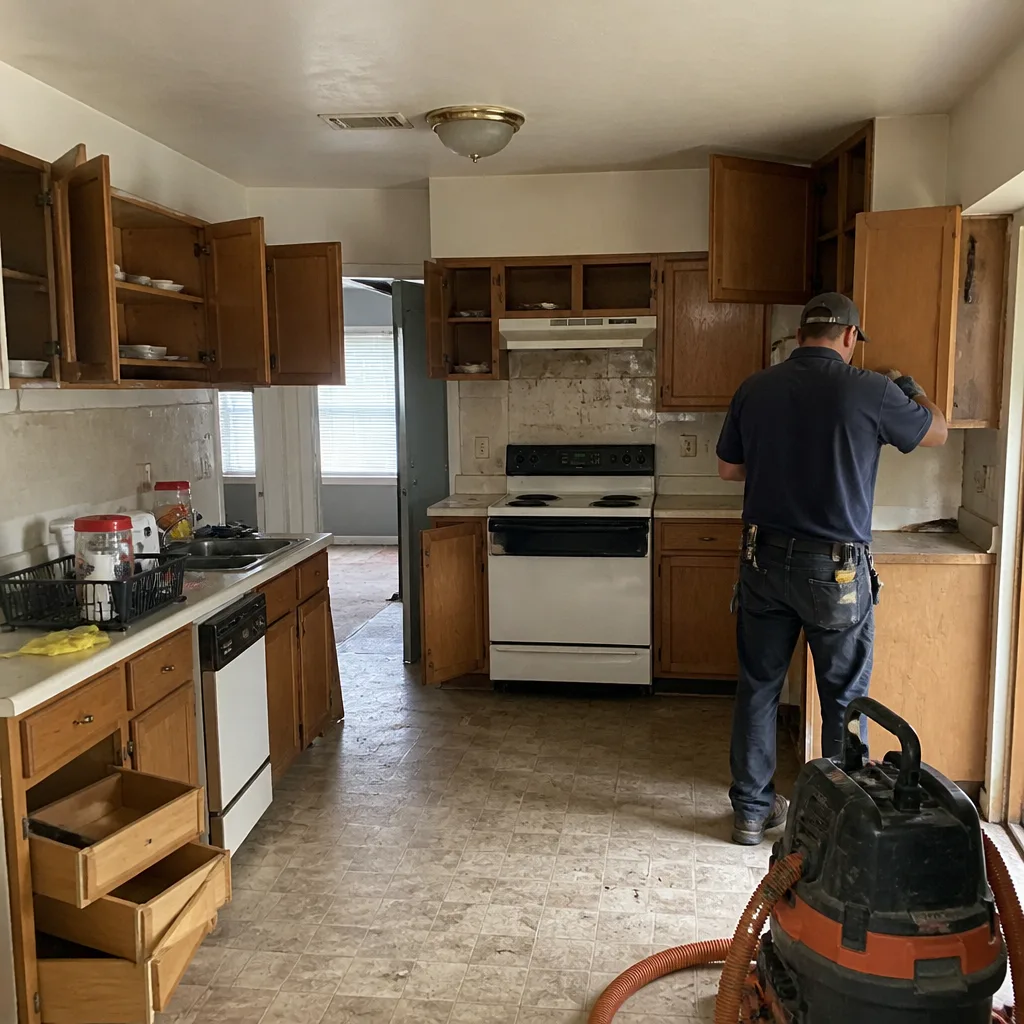 Before
 After
When to Call a Professional
Call a professional when you see water where it doesn’t belong, when a crack has moisture or discoloration at its edges, when a slow drain gurgles or is accompanied by a toilet flush issue, when tile sounds hollow, or when caulk has pulled away from one side within the first year. Those five signs almost always mean a workmanship issue worth a written conversation with the original installer. Also call when the problem is inside the waterproofing envelope or the shower pan; those cannot be checked without opening a small section, and doing it yourself closes the warranty. Penhallow Remodeling Garland offers free estimates in Garland. Call (844) 560-4146, and a live person answers, day or night.
Frequently Asked Questions
Grout should not crack in the first year if it was installed correctly over a properly prepared substrate. A single hairline in a field of tile can be normal settling in the first six months. Any crack that runs along a sheet seam, at a corner, or in a straight diagonal line is an installation issue and should be reported before the warranty window closes. Call (844) 560-4146 if you’re inside the 365-day promise and want a free evaluation.
Not an emergency, but it needs attention within a week or two. Construction debris is the most likely cause and is a quick fix. A venting or slope problem is more serious and requires the contractor’s plumber. Waiting turns a simple clog into a pan rebuild if standing water is left on the surface.
Only if you use 100% silicone sealant, clean and dry the joint completely, and use a caulk gun with a fresh cartridge. Any other product fails in the wet environment. If the original caulk is pulling away, the better move is to call the contractor first, because a homeowner caulk job can sometimes void the workmanship warranty on that joint.
A musty smell in a Garland bathroom usually traces to one of three causes: an exhaust fan vented into the attic instead of outside, a shower pan with a slope or membrane failure letting water sit, or a caulk joint that’s been leaking slowly. Any of these traps moisture in the wall cavity. It’s worth a professional look because mold in the framing grows fast in our humidity.
Usually yes, if the crack is in the tile field with no impact mark visible and the failure traces to substrate or installation. Impact cracks from a dropped object are the homeowner’s responsibility. Read the written guarantee to confirm the window and the exclusions, and call within days of noticing the crack to keep the claim clean.
No. Under a proper written workmanship warranty, a covered fix is a free return visit with no service call and no re-inspection fee. The line is the guarantee: if the failure is inside the covered window and traces to installation, the contractor absorbs the cost. Anything outside the window or clearly caused by homeowner action is a paid repair.
The Bottom Line
Bathroom remodel problems almost always trace back to two things: the substrate wasn’t ready, or the waterproofing wasn’t right. Grout cracks, caulk gaps, slow drains, and musty smells are all symptoms, and reading them early is what separates a $150 warranty fix from a $4,000 pan rebuild. Document everything, know your warranty window, don’t try to fix anything inside the envelope yourself, and call the contractor in the first two weeks of noticing. Written price before work. Written guarantee after. That’s the standard we hold every Garland project to. If you’re planning a remodel or troubleshooting one, call (844) 560-4146 for a free estimate.
Written by the team at Penhallow Remodeling Garland.