Last updated November 18, 2026








Free written scope consultation - allowances, timeline, and change-order rules on paper before a single trade is scheduled
Bathroom Remodeling Maintenance Schedule: What to Do and When
New caulk in a shower needs its first real check at 90 days, not at the one-year mark. That’s roughly when the first full seasonal temperature cycle has passed through the wall assembly, and any adhesion failure in the bead has had time to open, draw moisture, and start staining the grout line behind it. Plenty of remodeled bathrooms in Garland reach their first anniversary with a slow leak that’s been running for nine months. The maintenance rhythm of a newly remodeled bathroom is different from a bathroom that was never touched: fresh grout, fresh caulk, new fixtures, and a new waterproofing layer all behave in the first year in ways nobody warns you about. This guide lays out the 30-90-180 day post-remodel checklist, the annual tasks, and what to inspect before a one-year workmanship guarantee expires.
Quick Answer
Maintain a remodeled bathroom on a fixed rhythm: inspect everything at 30, 90, and 180 days after completion, then annually. The 90-day caulk check matters most because a full seasonal temperature cycle has passed. Reseal shower grout every 12-18 months in a humid North Texas bathroom. Check supply line connections under the vanity once a year, clean showerhead aerators twice a year, and run the exhaust fan test every three months. Spend 45 minutes on inspection before the one-year guarantee expires so any defect is fixed on the contractor’s dime rather than yours.
Styles & brands we work with
- Kitchen remodeling
- Bathroom remodeling
- Home additions & ADU
- Roofing
- Windows & doors
- Driveway & pavers
- Fence
Table of Contents
- The First 90 Days: Post-Remodel Inspection Schedule
- Why the 90-Day Caulk Check Is the One Task Homeowners Skip
- Garland’s Hard Water and What It Does to New Fixtures
- Grout Sealing vs. Regrouting: Which One Does Your Bathroom Need?
- The Exhaust Fan: The Cheapest Way to Protect a New Bathroom
- The Annual Maintenance List
- What to Inspect Before a One-Year Workmanship Guarantee Expires
- Preparing a Remodeled Bathroom for Winter
The First 90 Days: Post-Remodel Inspection Schedule
The first 90 days after a bathroom remodel are the highest-risk window in the life of that bathroom. Materials are still settling. Caulk is still curing. Tile adhesive is still finishing its bond. Fixture connections that were snug on install day may have worked loose from thermal expansion. What you’re doing in this window is catching problems while they’re still small and cheap to fix.
Here’s the schedule we recommend for every finished bathroom in Garland:
- Day 30: Run a finger along every caulk bead and grout line. Feel for soft spots, gaps, or grit under your finger. Check under the vanity for moisture at the supply and drain connections. Verify the exhaust fan pulls air when you hold a tissue against the grille.
- Day 90: This is the big one. After one full seasonal temperature swing, re-check every caulk joint in the shower, around the tub, and at the floor-to-wall transition. Look for any bead that’s pulling away from tile or tub. Check that the toilet is still tight at the floor and hasn’t started to rock.
- Day 180: Do a slow walk-through. Run the shower for five minutes. Look for any water pooling around the drain, any darkening of grout lines, or any soft spot at the corners where the floor meets the wall. Feel for cold spots or soft spots on the tile walls.
Record what you find on your phone. Photograph anything that looks off. As a general contractor in Garland, we can tell you that a dated photo of a suspected defect is the single most useful document for a guarantee claim.
Why the 90-Day Caulk Check Is the One Task Homeowners Skip
Caulk is the first line of defense against water intrusion in a shower, and it is also the first thing to fail. In a bathroom that’s never been touched, caulk failures happen over years. In a freshly remodeled bathroom, caulk failures happen in the first 90 days if they’re going to happen at all. The bond either grabs through the first seasonal temperature cycle or it doesn’t.
What most homeowners do is skip the 90-day check entirely and wait until year one. By then, a failed caulk bead has had nine months of shower mist to draw into the grout and substrate behind it. The symptom is a small dark line or a soft spot behind the tile, and the repair is no longer caulk. It’s removing tile and replacing the cement board substrate underneath.
The 90-day check takes five minutes:
- Press a fingertip into the caulk bead at every corner and along the tub-to-wall joint. Any bead that dents easily, crumbles, or peels at the edge needs attention.
- Run the shower for three minutes, then look for water beading against the caulk. If water wicks into the joint instead of beading, adhesion is compromised.
- Check the caulk around the base of the toilet and at the floor-to-wall transition. Toilet base caulk tends to fail first because most caulk lines are under constant contact with water.
If you find a problem, call whoever installed it. If the bathroom was remodeled through a company with a real written guarantee, that caulk repair is covered. If not, this is a do-it-yourself job for a few dollars’ worth of silicone caulk and an afternoon. See our bathroom remodeling in Garland service for what a properly finished bathroom looks like at handoff.
Garland’s Hard Water and What It Does to New Fixtures
Garland’s municipal water runs moderately hard, and that hardness shows up on newly installed fixtures fast. Chrome finishes develop a cloudy film faster here than in cities with soft water. Showerhead aerators clog with mineral scale in 4-6 months, not the 2-3 years most manufacturer maintenance schedules assume. Faucet cartridges lose flow and start to feel stiff. The visible symptom is a fixture that looks duller at six months than at install day.
The fix isn’t complicated, but it needs to be routine:
- Every 30 days: Wipe all fixtures down with a vinegar-and-water solution, let sit for five minutes, and buff dry. Vinegar handles scale; a dry buff prevents the cloudy film from setting.
- Every 90 days: Unscrew showerhead aerators and soak in white vinegar for 20 minutes. Rinse and reinstall. This is one of the highest-return maintenance tasks in a bathroom.
- Every 6 months: Soak faucet aerators in white vinegar. Check the flow rate after reinstall. If a Kohler or Moen fixture is noticeably slower than it was at install, scale has started.
- Annually: Check the finish on any faucet fixture that lives under a heavy spray path. Delta and Moen under 5 years of age with visible finish degradation are usually warrantable; the manufacturer wants to hear about it while the fixture is still young.
If your home has a water softener, half these tasks drop in frequency. If it doesn’t, don’t skip them; a $15 bottle of white vinegar a year is cheap insurance against a $300 fixture replacement.
Grout Sealing vs. Regrouting: Which One Does Your Bathroom Need?
New grout in a shower in a high-humidity environment should be resealed every 12-18 months. That interval is faster than many sealant labels claim, because sealers break down under constant shower use and bright light, not because the sealer is bad. Most sealants advertise “5-year” service lives that assume low-contact surfaces. A shower floor and a shower wall behind a showerhead are high-contact surfaces. On a Texas summer with the AC running, you’ll also see more thermal movement in tile joints than in a moderated climate.
The test for whether grout needs resealing is a few drops of water:
- Drip a teaspoon of water onto a grout line in the shower.
- Watch for 30 seconds. If the water beads up and sits on top, the sealer is still working.
- If the water darkens the grout line and soaks in, the sealer has worn off and the grout needs resealing.
Resealing is a homeowner-friendly job: clean the grout, let it dry 24 hours, apply a penetrating sealer with a small foam brush, wipe off the excess, and let it cure. Regrouting is a different animal. If you see cracked grout across more than one tile joint, crumbling or powdery grout, or grout that keeps coming out of a specific joint despite resealing, the grout bed has failed and needs to be removed and replaced. That’s a tile job, not a weekend task. One important note: if the shower was built with an epoxy grout, it doesn’t need sealing at all – check with whoever did the install.
The Exhaust Fan: The Cheapest Way to Protect a New Bathroom
The exhaust fan does more to protect a remodeled bathroom than any other single component. It pulls moisture out before it can settle into grout, feed mold behind the wall, or rust out the shower trim. Yet most homeowners never test it. In our experience, exhaust fans in Garland homes are often undersized for the room, vented into the attic rather than outside, or clogged with dust within two years of install.
The quarterly test:
- Hold a single square of toilet paper against the fan grille while it runs. If the paper sticks, the fan is pulling air. If it falls, the fan is failing.
- Check for moisture on mirrors and walls after a 10-minute shower. If the mirror is still wet 10 minutes after you’ve shut off the shower, the fan is underperforming.
- Vacuum the grille with a brush attachment every 6 months. Dust buildup cuts airflow fast.
- Every two years, have someone check the vent termination. In older Garland homes, fans vented into the attic cause real moisture damage; fans should vent through the roof or wall to the outside.
- Replace the fan if it’s older than 10 years or noticeably loud. Modern 110-CFM fans with a low-sone rating cost $80-$200 and make a real difference.
If the fan is underpowered for a bathroom with a shower, upgrading is a job a professional can complete in a couple of hours. That’s a small project compared to the cost of fixing moisture damage later.
The Annual Maintenance List
Once a year, block an afternoon and run this list. It’s roughly 45 minutes in a well-maintained bathroom and catches the majority of small problems before they become expensive ones.
- Re-caulk the tub-to-tile joint. Even a good caulk bead may need replacing annually. Scrape the old bead out, clean and dry the joint, and apply a new bead of 100% silicone caulk. Don’t use painter’s caulk here; it will fail in a wet environment.
- Check supply line connections under the vanity. Look for moisture, discoloration, or drips at the shutoff valves and the supply hoses. That’s where most slow leaks start.
- Clean showerhead aerators. Even if you do this quarterly, do a thorough one with a longer soak and a soft brush.
- Inspect the toilet for rock. If it wobbles, the wax ring is at risk. Tighten the bolts or replace the wax ring before it fails.
- Examine the grout lines with your phone’s flashlight. Any line that looks dark, crumbled, or cracked needs attention.
- Test the exhaust fan’s airflow and clean the grille. Add a check of the termination point if the fan is more than two years old.
- Inspect the vanity cabinet joints and hardware. Tighten any loose hinges or drawer slides; wipe down the interior; check for moisture damage under the sink.
If you’re remodeling a kitchen at the same time, don’t skip our kitchen remodeling in Garland guide for the equivalent checklist. Cabinets and counters have their own first-year behavior.
What to Inspect Before a One-Year Workmanship Guarantee Expires
A one-year workmanship guarantee is only as useful as the inspection you do before it expires. Most homeowners don’t do one at all. They notice a problem in month 14 and find out the guarantee has already closed. The point of the pre-expiration inspection is to find anything that’s gone wrong while the contractor is still contractually obligated to fix it at no charge.
Schedule the inspection 30 days before the guarantee expires. Photograph any issue you find. Here’s what to inspect:
- Tile: Look for any cracked, loose, or hollow-sounding tile. Tap each tile gently with a wooden spoon; a solid tile sounds solid, a loosening tile sounds hollow.
- Grout: Look for cracks, voids, or crumbling at any joint. Especially at the corners and around the drain.
- Caulk: Check every bead again. Any bead that’s pulling away from tile or tub is a candidate for a guarantee claim.
- Fixtures: Run all faucets, the shower, and the toilet. Look for drips under the sink, rust around any trim, or a slowdown in flow rate. Also check that drains still drain promptly.
- Exhaust fan: Test airflow with the tissue test. Verify it’s actually pulling moisture.
- Vanity: Open all doors and drawers. Look for swelling at the bottom of the cabinet, delamination at joints, or alignment problems that were not there at install.
- Toilet: Does it rock? Does it leak at the base? A toilet that rocks after 12 months is a workmanship issue.
- Waterproofing level: If the shower is on an upper floor, check the ceiling below for any sign of staining. A slow leak from a shower pan takes months to show through.
Send your list and photos to whoever did the install before the guarantee expires. A written guarantee like the one we provide through Penhallow Remodeling is a real contractual obligation, and it works whether or not you remember to inspect. But it works better when you inspect on time. That’s why our Penhallow Remodeling Garland home page spells out the guarantee terms in writing.
Preparing a Remodeled Bathroom for Winter
North Texas winters are mild, but they’re cold enough to stress a freshly remodeled bathroom in specific ways. The freezes that matter aren’t sustained – they’re the single-night drops into the 20s that catch homeowners off guard, especially when the bathroom has an exterior wall. Here’s what we recommend each fall:
- Check that the exhaust fan isn’t pulling warm air out faster than the bathroom can replace it. A fan that runs constantly in cold weather pulls cold air in through the wall cavity. Use a timer or a humidity-sensing switch if your fan doesn’t have one.
- If a supply line runs along an exterior wall (common in older Garland homes), leave the cabinet doors open overnight during a hard freeze so warm air can reach the pipes.
- Drip the faucet during a hard freeze if a fixture is on an exterior wall. A slow drip takes pressure off the pipes if they start to freeze.
- Check caulk and grout before winter, not after. Winter is when existing small defects get worse, because condensation builds up inside wall cavities more in cold weather.
Common Mistakes to Avoid
- Skipping the 90-day caulk check. Every day past 90 that a failing caulk bead stays wet, the risk of substrate damage goes up. Don’t wait until year one.
- Sealing new grout too early. New grout needs to cure fully before it’s sealed – usually 7-14 days depending on the grout type. Sealing too soon can trap moisture inside the grout bed.
- Using painter’s caulk in a shower. It isn’t rated for wet environments and will fail within months. Use 100% silicone. This mistake is especially common in diy caulk touch-ups.
- Ignoring the exhaust fan until the mirror fogs. By the time the mirror fogs after a shower, the fan has been underperforming for months. Test it quarterly with the tissue trick.
- Using abrasive cleaners on new fixtures. Soft-scrub on a Kohler or Delta finish takes the finish off, not the scale. Use white vinegar and a soft cloth.
- Assuming hard water isn’t a maintenance issue. Garland’s water runs moderately hard. Fixtures that aren’t cleaned regularly degrade twice as fast here as in a soft-water city.
- Not scheduling a pre-guarantee inspection. A written one-year guarantee only helps if you use it before it expires. Put it on the calendar the day the remodel is finished.
See the difference
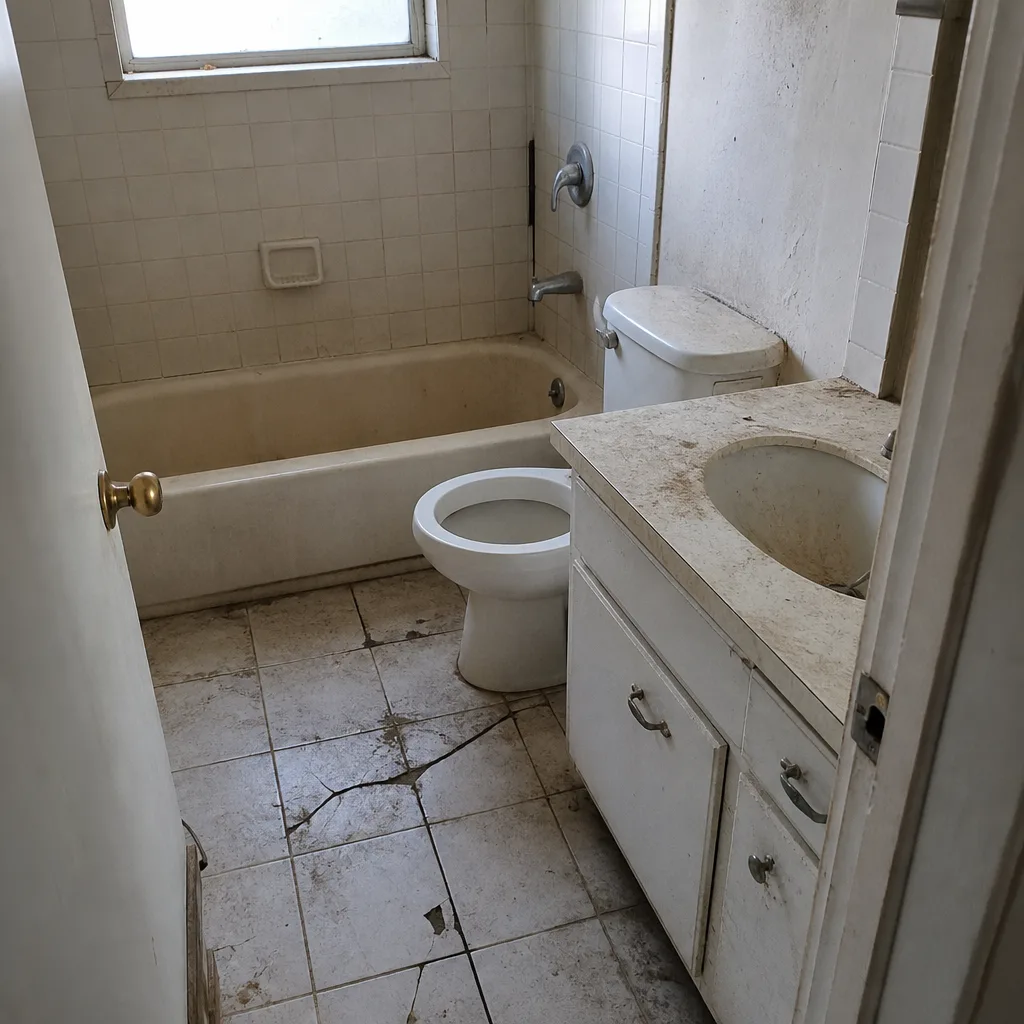 Before
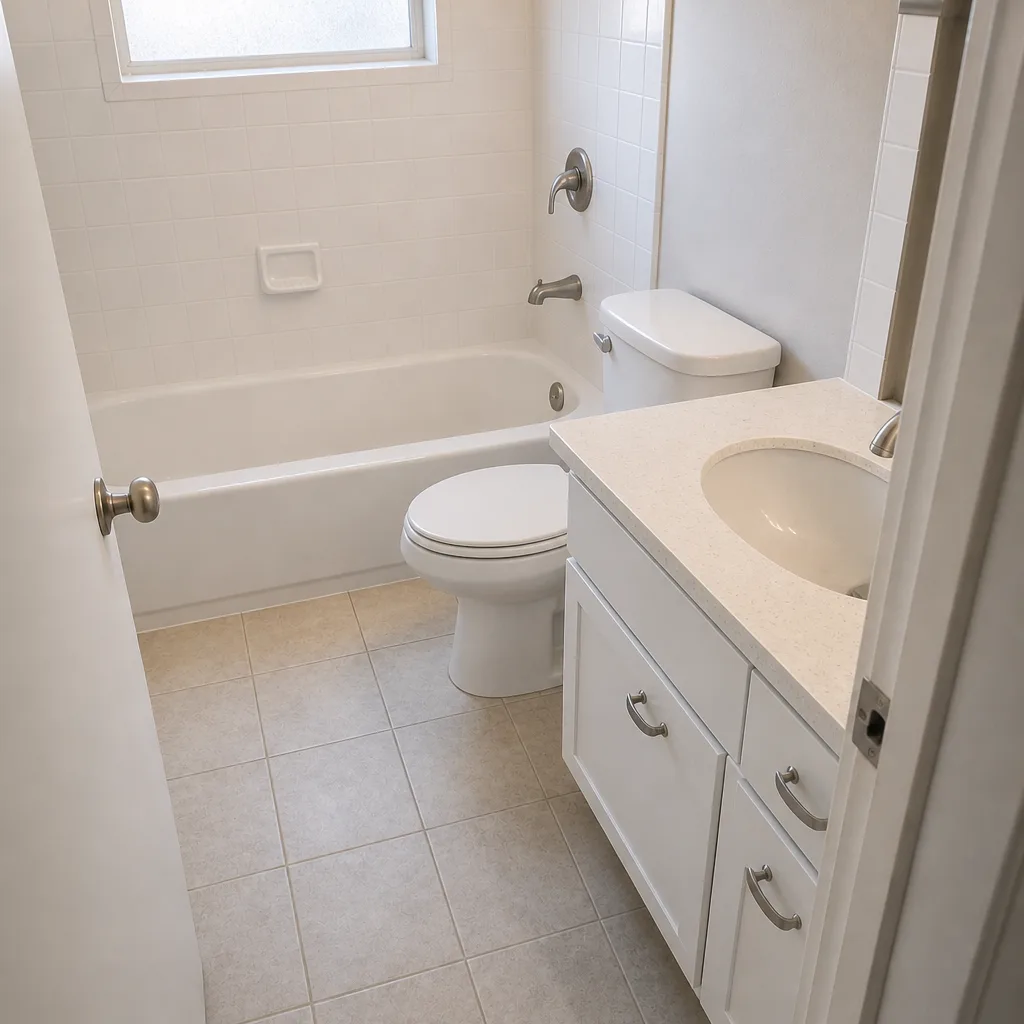 After
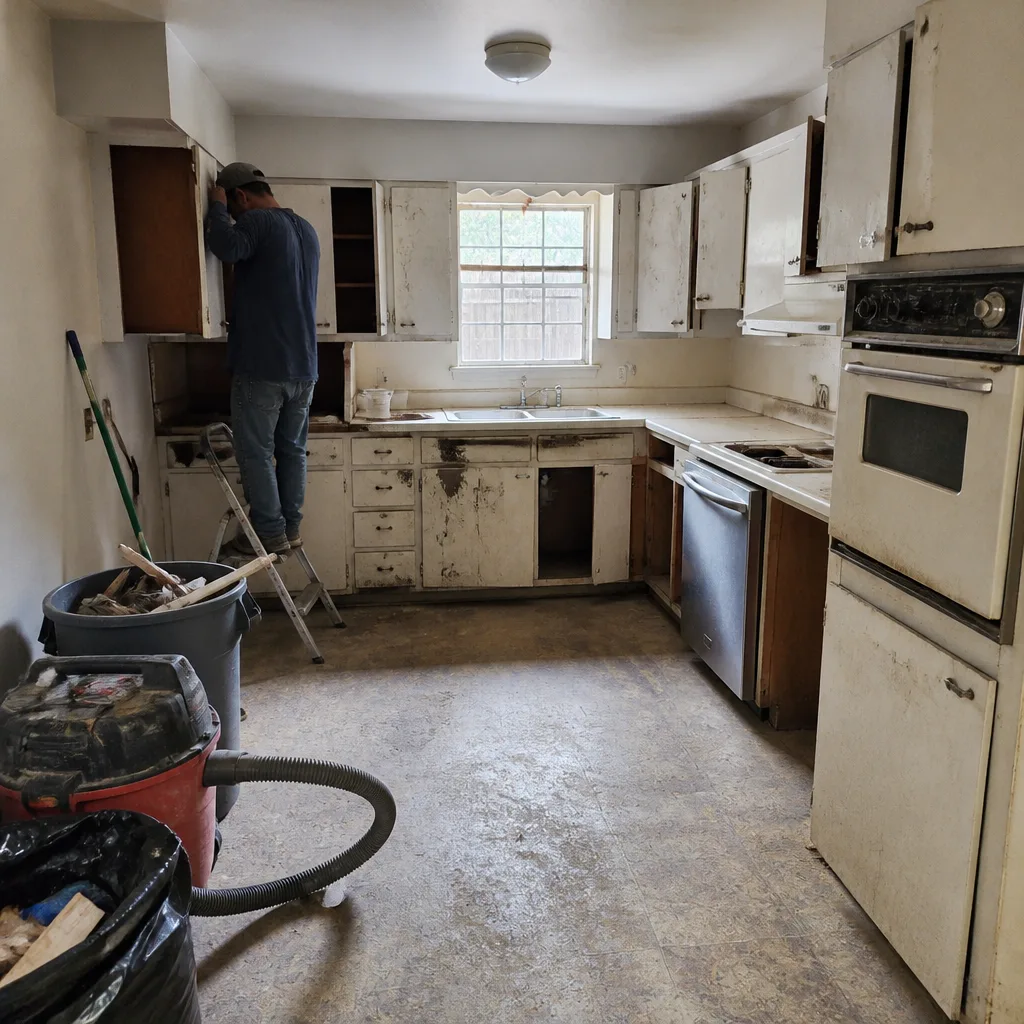 Before
 After
 Before
 After
When to Call a Professional
Most of the tasks in this guide are homeowner-friendly. There are a few exceptions. If you find loose tile, hollow-sounding tile, crumbling grout that comes back after resealing, water stains on the ceiling below the bathroom, a shower pan that’s leaking, or a toilet that’s leaking at the base, those are not weekend projects – they’re water intrusion problems that can turn into $3,000-$8,000 repairs if left alone. The same goes for replacing an undersized exhaust fan or moving the bathroom fan’s vent termination. And any shower that shows mold behind the caulk at the tub-to-tile joint needs a professional inspection before you start picking at it. Penhallow Remodeling Garland offers free estimates in Garland; we’ll inspect, tell you what we see, and put a written price in front of you before any work starts. Call (844) 560-4146 to schedule.
Frequently Asked Questions
Reseal shower grout every 12-18 months in a Garland bathroom. The interval is on the shorter side because of high humidity inside a shower enclosure and seasonal temperature swings. Test with a few drops of water first – if the water beads up, the sealer is still working; if it soaks in, reseal. Use a penetrating sealer, not a topical one.
Because 90 days is roughly one full seasonal temperature cycle. Caulk that’s going to fail from a bad bond, a surface contamination, or incompatible substrate usually shows the failure in that window. Waiting until one year means the bead has been drawing moisture for nine months, and by then the damage is often behind the tile rather than on the surface.
Check the caulk around the tub-to-tile joint and inside the shower corners. Also check under the vanity for moisture at the supply line connections, and run the exhaust fan with a tissue held to the grille to confirm it’s pulling air. Those three items catch most of the early problems.
Yes, more than most homeowners expect. Mineral scale builds on aerators and showerhead screens in 4-6 months, and finish film develops on chrome and brushed nickel if they aren’t wiped down monthly. A 30-day wipe-down with vinegar and a 90-day showerhead aerator soak handles most of it. If you have a water softener, the frequency drops.
Inspect for cracked or hollow tile, crumbling grout, failed caulk, moisture under the vanity, a rocking toilet, ceiling stains below an upper-floor bathroom, and any slowdown in fixture flow. Photograph anything that looks off. Schedule the inspection 30 days before the guarantee expires so the contractor has time to schedule a return visit.
A moderate hall bath remodel in Garland typically runs $9,000-$18,000. A full primary bath remodel with a walk-in shower, tile floor, and new counters runs $22,000-$45,000 depending on layout, tile choice, and fixture line. Penhallow Remodeling puts a written price in front of you before any work starts and holds it – no change orders after demo day. Call (844) 560-4146 for a free estimate.
The Bottom Line
A remodeled bathroom runs on a schedule, not on luck. Hit the 30-90-180 day checkpoints. The 90-day caulk check is the one that saves you thousands. Clean the fixtures monthly in Garland’s hard water, reseal the grout every 12-18 months, and test the exhaust fan quarterly. Do the annual list, and do the pre-guarantee inspection 30 days before the one-year window closes so the fixes happen on someone else’s dime. Every one of these tasks is short; the cost of skipping them is not. If the bathtub-to-tile joint is failing or you’re ready to plan a remodel with a real written guarantee behind it, call us: our team has up to 22 years of experience, technicians arrive background-checked and uniformed, and the 365-Day Done Right Promise is written on every project. Schedule a free estimate through the Garland bathroom remodeling service page or call (844) 560-4146.
Written by the team at Penhallow Remodeling Garland.