
Last updated November 18, 2026








Free written scope consultation - allowances, timeline, and change-order rules on paper before a single trade is scheduled
Kitchen Remodeling Maintenance Schedule: What to Do and When
A $25,000 kitchen remodel can develop a moisture problem behind the sink within two years. Not because the contractor did bad work, but because nobody re-caulked a joint that every kitchen needs re-caulked every 12 to 18 months. We’ve walked into Garland kitchens where a failing bead of caulk turned into soft cabinet board, swollen toe kicks, and a warranty conversation that didn’t go the homeowner’s way. The fix costs about $12 in caulk and an hour of your Saturday. The damage runs into the thousands. This guide lays out a month-by-month maintenance calendar for your first year after a remodel, explains which failures void coverage and which don’t, and shows you how to document everything so your warranty actually protects you when you need it.
Quick Answer
After a kitchen remodel, you should inspect caulk and grout every three months, adjust cabinet hinges and drawer slides twice in the first year, re-seal natural stone countertops every 12 months, and check under-sink plumbing and appliance connections at the six-month mark. The single most important task is re-caulking wet-area joints every 12 to 18 months, since failed caulk behind the sink is the most common preventable cause of water damage in a new kitchen. Everything else is calendar work you can handle yourself in under an hour per visit.
Styles & brands we work with
- Kitchen remodeling
- Bathroom remodeling
- Home additions & ADU
- Roofing
- Windows & doors
- Driveway & pavers
- Fence
Table of Contents
- The First 90 Days: What Settles and What Needs Watching
- The Month-by-Month Calendar for Your First Year
- Which Maintenance Failures Void a Warranty (and How to Stay Clear)
- Caring for What You Chose: Quartz, Granite, Painted Cabinets and LVP
- How to Document Maintenance So Your Warranty Holds Up
- Signs a Maintenance Issue Has Become a Warranty Issue
- Garland-Specific Maintenance: Climate, Water and Code
- When to Call a Professional Instead of Handling It Yourself
The First 90 Days: What Settles and What Needs Watching
A new kitchen is not a static thing. Wood expands and contracts, grout cures, and cabinets settle onto their shims. The first 90 days are when most minor movement happens, which is why we tell every homeowner the same thing: don’t panic at a hairline crack in the caulk, but do write it down and watch it.
Here’s what to check in the first three months.
- Week 2: Open and close every cabinet door and drawer at least a dozen times. Hinges that loosened during installation usually reveal themselves now. A quarter turn with a Phillips screwdriver is normal adjustment, not a defect.
- Week 4: Look at the caulk line where the backsplash meets the countertop. Hairline separation of 1/16 inch or less is normal settling. Anything wider, or any line that looks wet, gets photographed and reported.
- Week 6: Run water in the sink and watch the cabinet floor underneath for a full minute. Drips at the P-trap or the disposal connection are the most common first-year plumbing call we see in Garland homes.
- Week 8: Check the grout on the floor tile. Efflorescence, a white powdery film, is normal on fresh grout and wipes away. Actual crumbling is not.
- Week 12: Do the first full caulk inspection. Any joint in a wet zone that has pulled away from the surface gets re-caulked before it becomes a water channel.
Write down the date of each check. A simple notes app entry with a photo works. That record becomes valuable later. If you ever need to make a claim under our 365-Day Done Right Promise, that log is your proof the problem was watched, not neglected.
The Month-by-Month Calendar for Your First Year
This is the checklist we’d hand you at the end of a project if we could staple it to the inside of a cabinet door. Print it, stick it on the fridge, and work through it once a season. The whole year of maintenance takes about four hours total.
Months 1 – 3
- Open and close all cabinet doors and drawers (see above).
- Inspect under-sink plumbing for drips.
- Wipe down new cabinetry with a damp cloth only, no solvent cleaners.
- Photograph every caulk line and grout joint as a baseline.
Months 4 – 6
- Check the dishwasher supply line and drain hose connections under the sink. Hand-tighten only. Overtightening a plastic fitting is a common self-inflicted leak.
- Pull the refrigerator out and vacuum the condenser coils. In a Garland summer, dust-clogged coils make the compressor work harder and can shorten the appliance’s life.
- Test the range hood fan at every speed. Reduced airflow usually means a grease-clogged filter, not a failing motor.
- Re-seal natural stone countertops if you chose granite or marble. Quartz does not need this step.
Months 7 – 9
- Do the second full cabinet hardware adjustment. Door hinges often need a slight turn after a humid Texas summer.
- Re-caulk any joint that showed wear at the six-month check.
- Check the grout sealer with a water-drop test: put three drops on a grout line. If they soak in within five minutes, it’s time to re-seal.
- Clean the exhaust fan blades and housing.
Months 10 – 12
- Re-seal natural stone again if it’s been a year since installation.
- Inspect the toe kick and cabinet base for any softness or discoloration, which signals water where it shouldn’t be.
- Check the garbage disposal mounting ring for looseness. Hand-tighten only.
- Photograph everything again. Compare against your month-one photos. Any change is your early warning system.
After year one, the cycle settles into a simple rhythm: caulk and grout check every six months, stone re-sealing annually, cabinet hardware adjustment annually. If you’re planning the remodel itself rather than maintaining a finished one, our Kitchen Remodeling in Garland page covers what the build process looks like from the first walkthrough to the final inspection.
Which Maintenance Failures Void a Warranty (and How to Stay Clear)
Here’s the honest version: warranties generally cover defects in workmanship and materials, not damage from neglect. The line between the two is clearer than most homeowners think, and almost all of the avoidable claims we see fall into a short list.
Failures that will void a warranty claim
- Unrepaired caulk failure. If a joint pulled away and water ran behind the counter for months, that’s a maintenance failure, not a workmanship defect.
- Harsh chemical cleaners on finished surfaces. Abrasive scouring pads on painted cabinets, or acid-based cleaners on natural stone, damage the finish in a way no guarantee can reasonably cover.
- Ignored plumbing leaks. A drip you noticed and didn’t report, that later swells cabinet board, is on the homeowner.
- Overloaded drawers or shelves. A drawer slide rated for 50 pounds that fails at 90 isn’t a manufacturing defect.
- DIY modifications after the project. Adding a shelf, drilling a new hole for a handle, or rewiring under-cabinet lighting yourself changes the equation.
Failures that are almost always covered
- A cabinet door that warps within a year of installation.
- Grout that cracks in a pattern following the substrate rather than normal settling.
- A drawer slide that fails under normal use.
- A plumbing connection that leaks despite correct, undisturbed installation.
- Any failure of a product that carries its own manufacturer warranty, like Cambria quartz, which backs its surface independently alongside ours.
The pattern is easy to remember: things that break on their own are usually warranty matters, and things that break because they weren’t looked after usually aren’t. Do the caulk checks, keep the photo log, and you stay on the covered side of that line. That’s also why our General Contractor in Garland page talks about written guarantees in plain terms: a written guarantee only works if both sides know what it covers, so we say it out loud before work starts.
Caring for What You Chose: Quartz, Granite, Painted Cabinets and LVP
Different materials need different follow-through, and this is where a lot of Garland homeowners get surprised. The maintenance schedule you keep depends on the materials you picked, and the care routine for each is short but specific.
Quartz vs. granite countertops
Quartz is a non-porous engineered surface, so it doesn’t need sealing, ever. Wipe it with mild soap and water, and avoid abrasive pads that can dull the finish. Your job is simply keeping it dry and clean. Granite is natural stone with pores, and those pores need sealing every 12 months to keep stains and bacteria out. The water-drop test tells you when. Both respond the same way to a hot pan: use a trivet. Thermal shock can crack either one.
Painted vs. stained cabinets
Painted cabinets, like the KraftMaid and Wellborn lines we install, are finished with a cured paint system that wipes clean with a damp cloth. Don’t scrub them with solvents, and don’t leave a spill sitting on the finish overnight. Stained cabinets show wear differently: they need a re-oiling around the five-to-seven-year mark on high-touch spots like the area around the dishwasher and the cabinet fronts by the pantry. A small touch-up kit from the manufacturer handles this.
LVP vs. tile flooring
Luxury vinyl plank (LVP) needs only a damp mop and a pH-neutral cleaner. Avoid steam mops, which can lift seams, and avoid abrasive cleaners that dull the wear layer. Tile and grout need the water-drop test for the sealer every six months, plus a clean with a grout-specific brush once a quarter so dirt doesn’t grind into the porous line. Grout is the part of a tile floor that ages fastest, and it’s also the part most homeowners ignore.
If you’re weighing these materials now, our Bathroom Remodeling in Garland page touches on how we think about moisture-prone materials, and the same reasoning applies in a kitchen sink zone.
How to Document Maintenance So Your Warranty Holds Up
When a homeowner calls about a failing caulk line or a swollen toe kick, the first question from any warranty department is: what have you done to maintain this? A clean answer takes the sting out of the process, and a vague answer prolongs it.
Build this file of records. None of it takes more than a few minutes per quarter.
- Dated photos of every wet zone. The caulk line behind the sink, the grout lines by the dishwasher, the cabinet floor under the disposal. Take one set at month one, then again at each quarterly check.
- A simple maintenance log. A notes app, a spreadsheet, or a printed sheet on the fridge. Each entry: date, what you checked, what you found, and what you did about it.
- A record of products used. Keep the name of the caulk, the sealer, and the cleaner you used. The warranty on your cabinets is easier to honor if the maintenance was done with the product the manufacturer recommends.
- Keep your project file. The written price we gave you before work started is part of your record. That’s the same document referenced in our Penhallow Remodeling Garland home page: a written number, a written guarantee, and whatever documentation came with the materials.
If you find a problem and you’re not sure whether it’s maintenance or warranty, photograph it and call us before you touch it. That one step prevents a lot of claims from turning into arguments.
Signs a Maintenance Issue Has Become a Warranty Issue
Most of the calls we take fall in the gray zone, where the homeowner is unsure whether they’re looking at a real defect. These are the signals that tell you it’s time to make the call.
- Water where there shouldn’t be any. Discolored cabinet board, soft spots in the toe kick, or a persistent musty smell. Any of these means water is getting in somewhere, and the sooner it’s reported the better.
- A crack that follows a pattern, not a random line. Hairline settlement cracks wander. Cracks that follow a straight line along the substrate usually point to a movement issue underneath.
- A cabinet door that sags, sticks, or warps. If it was fine at month two and it’s wrong at month eight, that’s a candidate. If it was installed wrong, you’ll know within the first two weeks.
- Grout that’s crumbling in more than one spot. A single weakened joint is normal. Whole areas failing usually means the substrate or the mix was off.
- Any plumbing joint that leaks after installation. Report it immediately, even if it’s a tiny drip. A slow drip can turn into a five-figure repair if it runs for weeks behind a cabinet.
Report it in writing. A text message with a photo, or an email with the date and description, becomes part of the record. When we can see what happened and when, we can get to the fix faster. Our technicians have up to 22 years of experience, and our 365-Day Done Right Promise means if the work itself fails within a year of your project, we come back and make it right at no charge.
One more thing that matters in Garland: our plumbing code and climate both create maintenance pressure that shows up faster than in a lot of other parts of the country. The humid Gulf air and the summer heat both work on caulk and grout, and our hard water pushes scale onto fixtures and grout lines. The sealers and the re-caulking schedule in this guide are tuned to that reality.
Garland-Specific Maintenance: Climate, Water and Code
Garland sits on the eastern edge of the Dallas metro, and the specific conditions here shape what your maintenance schedule should look like. It’s not the same schedule you’d follow in a drier climate.
- Gulf humidity pushes caulk wear faster. The warm, damp air in a Garland summer softens caulk seals, and the temperature swings in shoulder season open new gaps. Our recommendation of a caulk inspection every six months rather than every twelve is a response to that, not a sales tactic.
- Hard water clogs things up. North Texas water leaves mineral scale on fixtures, showerheads, and grout lines. Wipe dry, and use a mild descaling product on glass and fixtures on a monthly basis.
- Clay soil movement affects tile. The expansive clay soil under most Garland homes shifts with the wet-dry cycle, and that movement translates up through the slab and into tile grout. That’s why grout lines need more frequent checking here than in stable-soil regions.
- Permits and code. Most Garland kitchen remodels that touch plumbing, electrical, or structural work need a permit, and the inspection passes on that permit are part of your records. If you’re planning a project rather than maintaining one, our team handles the permits and the inspections as part of the job. Our licensed general contractor in Garland page spells that out in more detail.
None of this is complicated, but it’s specific. A schedule that ignores Garland’s climate will be too light on caulk and grout, and the results show up in year two.
When to Call a Professional Instead of Handling It Yourself
Some maintenance you do yourself. Some of it you shouldn’t. The list of “call us” items is shorter than most homeowners expect, but it matters.
Call a professional when you find water damage of any kind, whether that’s soft cabinet board, discolored drywall, or a persistent musty smell. Call when grout is failing in a pattern that suggests substrate movement. Call when a plumbing connection is leaking behind a cabinet wall, and don’t tighten it yourself unless you’re certain. Call when an appliance’s electrical connection shows any sign of a problem, and do not open a panel or trace wiring yourself, because 240-volt circuits are genuinely dangerous. Call if a cabinet door warps, a hinge fails under normal use, or a drawer slide gives out.
Re-caulking, re-sealing stone, adjusting a hinge, or wiping down a counter is a homeowner job, and we want you to do it. Those are the tasks that keep your warranty intact and your kitchen in good shape. The heavier stuff is ours. Penhallow Remodeling Garland offers free estimates in Garland. Call (844) 560-4146 to schedule yours.
See the difference
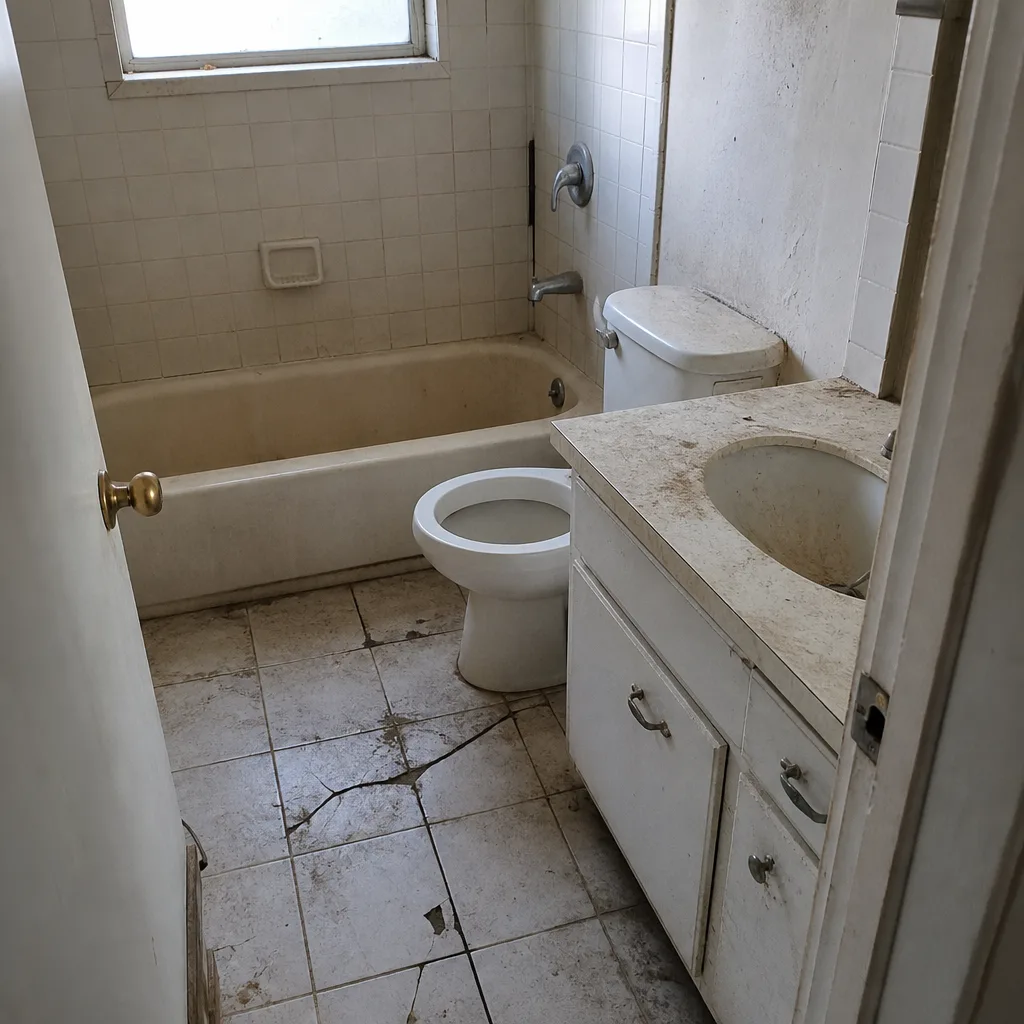 Before
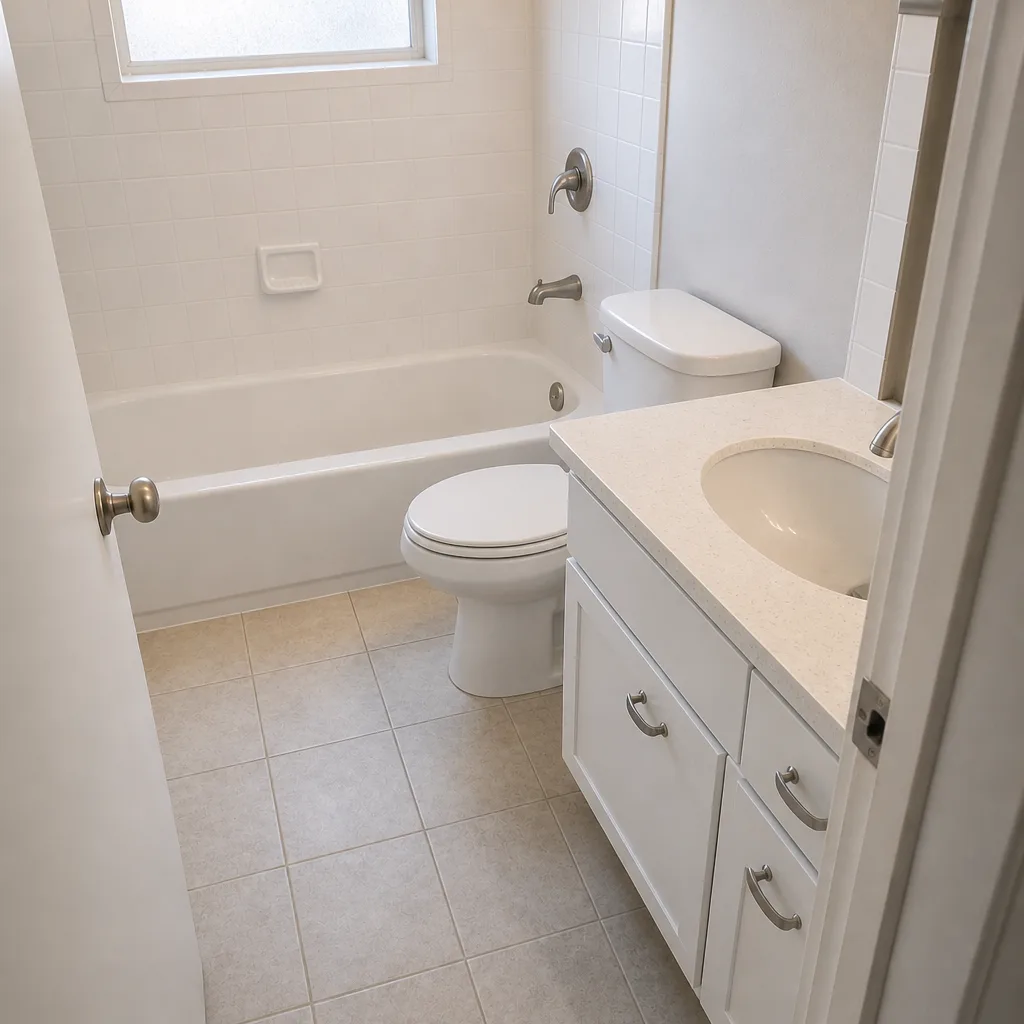 After
 Before
 After
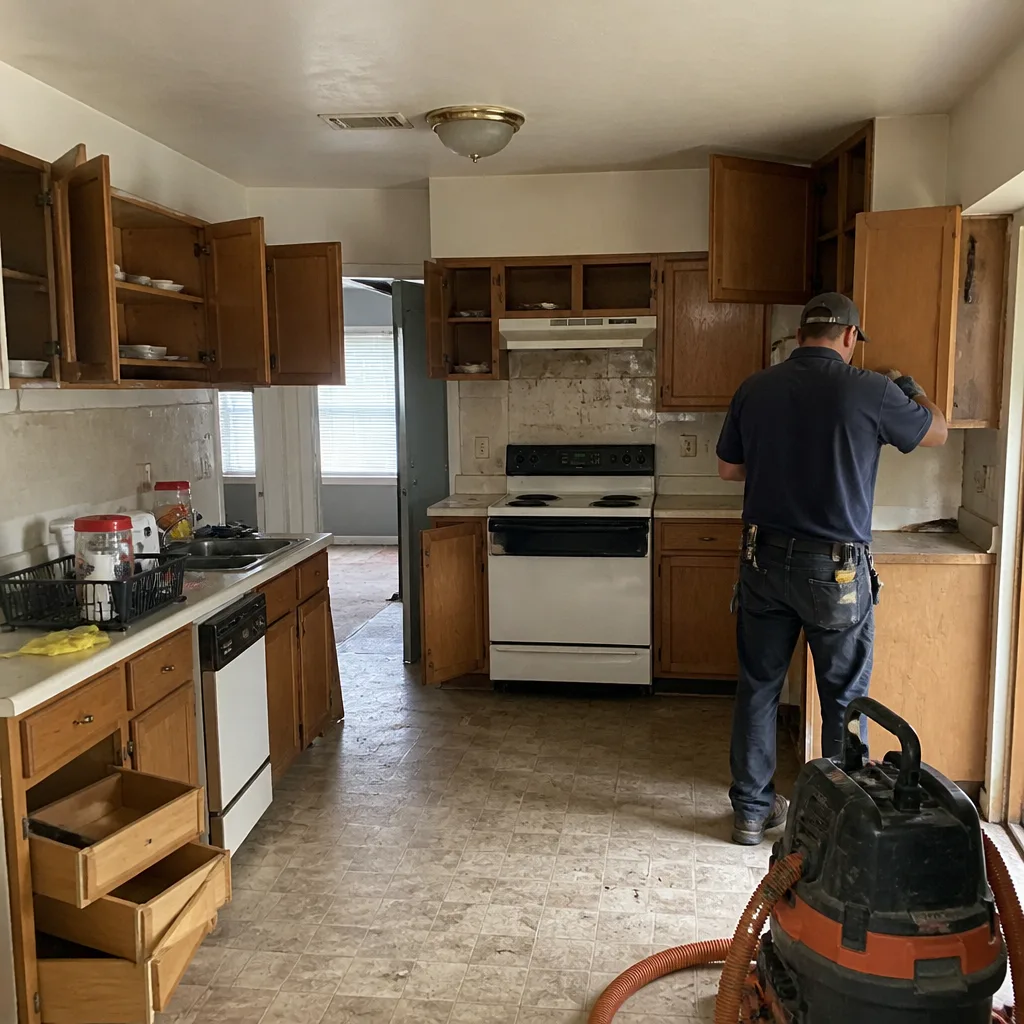 Before
 After
Frequently Asked Questions

Every 12 to 18 months in a Garland kitchen, and every six months if your kitchen gets heavy daily use or the caulk line is in direct sunlight. Inspect the joint at each check, and re-caulk the moment you see it pull away from the counter or the backsplash. Call (844) 560-4146 if you’re unsure whether a gap is a caulk issue or a sign of water getting behind the counter.
No. Quartz is non-porous, so it doesn’t need sealing at any point. Wipe it with mild soap and water and use a trivet for hot pans. Granite and other natural stone are a different story, and they need re-sealing every 12 months to stay stain-resistant.
No, and doing it protects your warranty rather than putting it at risk. What voids coverage is unrepaired caulk failure that lets water into the cabinet box. Use a quality kitchen and bath silicone caulk, and keep the receipt as part of your maintenance log.
Look at the shape. A wandering hairline crack from normal settling is usually a maintenance matter. A crack that follows a straight line or spreads across several tiles at once suggests movement underneath, and that’s a warranty conversation. Photograph it and call (844) 560-4146 to report it in writing.
Keep three things: the written price you were given before work started, the written guarantee on your project, and a dated photo log of your quarterly maintenance checks. That combination is enough to show a problem wasn’t caused by neglect.
Yes, on a couple of specific fronts. Gulf humidity softens and lifts caulk faster, and the clay soil means grout lines get more stress from ground movement. Plan on a caulk and grout check every six months instead of the once-a-year schedule that works in drier climates.
The Bottom Line
Your kitchen warranty is only as strong as the maintenance you actually do. The good news is that the schedule is short: inspect caulk and grout every six months, adjust cabinet hardware annually, re-seal natural stone yearly, and photograph everything each quarter so you have a record. The single highest-value task on the list is re-caulking wet-area joints every 12 to 18 months. That one habit prevents the most common and most expensive first-year failure, and it keeps you on the right side of the line when a warranty conversation happens. Do the small things, keep the record, and the kitchen stays covered.
If you’re ready to plan a remodel and want a written price before a single cabinet is pulled, call Penhallow Remodeling Garland at (844) 560-4146 for a free estimate.
Written by the team at Penhallow Remodeling Garland.