
Last updated November 18, 2026








Free written scope consultation - allowances, timeline, and change-order rules on paper before a single trade is scheduled
General Contractor Maintenance Schedule: What to Do and When
Caulk around a newly installed tub surround needs its first inspection at 90 days, not a year. That surprises most homeowners, and it shouldn’t. The months right after construction are when a house settles into its new shape, and settling is exactly when gaps first open and water first finds a path. Nobody hands you this calendar at punch-list sign-off, so we’re handing it to you now. What follows is the maintenance schedule a good general contractor should have given you on day one: what to check at 30, 60, and 90 days, what to do every year, and how to spot the difference between a normal hairline crack and a real problem in your Garland home.
Quick Answer
After a remodel, inspect caulk and grout at 30, 60, and 90 days, then move to a seasonal and annual routine: re-torque cabinet hardware and test GFCI outlets once a year, check wet-area grout twice a year, and clear your HVAC filter every 30 to 60 days during heavy construction dust. In North Texas, add seasonal checks for wood floor expansion gaps and exterior caulk, since summer heat cycles move exterior joints more than most homeowners expect.
Styles & brands we work with
- Kitchen remodeling
- Bathroom remodeling
- Home additions & ADU
- Roofing
- Windows & doors
- Driveway & pavers
- Fence
Table of Contents
- Why the First Year After a Remodel Matters Most
- The 30-60-90 Day Post-Renovation Checklist
- Annual Tasks for Remodeled Spaces
- Normal Settling or a Real Problem? Reading Drywall Cracks
- Before Your One-Year Workmanship Warranty Expires
- North Texas Seasonal Maintenance
- Common Mistakes to Avoid
- When to Call a Professional
Why the First Year After a Remodel Matters Most
A finished remodel isn’t a finished building. It’s a building that just went through a major change, and the first year is when it adjusts. New lumber dries and shrinks. Fresh drywall compound cures. Caulk that looked perfect on install day pulls back from a tub edge by a millimeter or two as the surround moves under its first hot showers. None of this is a defect. It’s physics.
That’s the window where small issues are cheap to fix and expensive to ignore. A 2-millimeter caulk gap behind a kitchen backsplash is a five-minute touch-up. Let water work into it for a year and you’re looking at a damaged substrate, which is the layer behind your tile and the one that decides whether a repair stays a repair. In our experience on Garland remodels, the homes that develop real damage almost always had a small gap somebody walked past for twelve months.
The schedule below is built around that reality. It’s not about being fussy. It’s about knowing when your house is most likely to move, and looking at the right places at the right time.
The 30-60-90 Day Post-Renovation Checklist
This is the part most homeowners never hear. The first 90 days are the highest-risk period for new work, and a short checklist covers nearly all of it.
- Day 30 – caulk and grout inspection. Run a finger along every caulk line in bathrooms, kitchens, and around windows. Look for gaps, cracks, or caulk that’s pulled away from a surface. Do the same for grout in wet areas – shower floors, tub surrounds, backsplashes.
- Day 30 – door and drawer alignment. Open and close every door and drawer slowly. Settling shows up first in hinges and slides, so a cabinet door that suddenly rubs or a drawer that sticks is your early signal that something moved.
- Day 60 – HVAC filter swap. Construction dust lingers long after the crew leaves. Replace your filter at 60 days regardless of what the packaging says, then every 30 to 60 days until the air clears.
- Day 60 – check the exhaust and vent paths. Make sure bathroom fans and range hoods pull air freely and the vent flaps outside open and close without sticking.
- Day 90 – repeat caulk and grout inspection. This is the big one. The house has been through a season of use by now, and any gaps that were going to open are open.
- Day 90 – walk the drywall. Check corners and ceiling seams in remodeled rooms for new cracks, and photograph anything you find with a date.
A committed Garland homeowner can do this list in under two hours. If a line item looks off, note it and call it in while the work is still fresh and easy to address.
Annual Tasks for Remodeled Spaces
Once the first year is behind you, the routine settles into an annual rhythm. These aren’t dramatic tasks, but skipping them is how small wear turns into a callback.
- Re-torque cabinet hardware. Hinges, drawer pulls, and slides loosen over a year of daily use. A screwdriver and ten minutes reset almost every one of them.
- Check tile grout in wet areas. Grout in showers and around tubs is the first line of defense against water. Anywhere it’s cracked or missing, seal or repair it before it turns into a substrate issue.
- Test GFCI outlets. Press the test button on every GFCI in kitchens, bathrooms, and near water. If it doesn’t trip, the outlet isn’t protecting you and needs replacement.
- Inspect the dishwasher and washing machine supply lines. Look for bulging, cracking, or stiff hoses. These fail quietly and cause the most expensive water damage we see.
- Check window and door weatherstripping. A remodeled exterior should still seal tight. If you feel air moving, the weatherstripping has compressed and needs replacing.
- Re-seal natural stone countertops. Cambria quartz and similar engineered surfaces don’t need it, but natural stone does – once a year, more often in kitchens.
If you’re adding a bathroom or kitchen to your home, our bathroom remodeling in Garland team builds these checkpoints into the final walkthrough so the schedule starts on day one. Our kitchen remodeling in Garland projects follow the same standard.
Normal Settling or a Real Problem? Reading Drywall Cracks
Not every crack is a warning. Most aren’t. But a few are, and knowing the difference saves you either a panicked phone call or a costly delay.
Normal settling cracks are typically hairline – narrower than a dime – and appear at corners, around door and window frames, or along ceiling seams. They show up in the first year, don’t grow quickly, and stay the same width when you check them again in a month. Patch and move on.
Cracks that deserve attention are wider than a quarter inch, grow over weeks, run diagonally from the corner of a door or window, or appear in multiple rooms at once. These can signal structural movement, a moisture problem, or a foundation issue. North Texas clay soil shifts dramatically with wet and dry cycles, and Garland sits squarely in that environment. If you see a crack that’s changing, take dated photos and call a licensed professional – a general contractor can tell you whether it’s cosmetic or something worth a closer look.
One more check: run a hand along the crack. If the drywall feels soft, damp, or you see discoloration around it, the cause is water, not settling. Water almost always traces back to a caulk or grout failure, which is exactly why the 30-60-90 checkpoints matter.
Before Your One-Year Workmanship Warranty Expires
Most workmanship warranties run one year, and the coverage is worth nothing if you don’t use it while it’s active. The last 60 days before expiration are your window to find every small issue and get it on record.
Walk the home with a notebook and check these before the clock runs out:
- Every caulk line and grout joint in the remodeled space
- Door and drawer alignment on cabinets
- Drywall seams and corners for new cracks
- Floor transitions – are they still flush or lifting at the edges?
- Plumbing fixtures and drain connections for slow leaks
- Paint at edges and trim, where cracking often shows up last
Note anything that wasn’t right on day one, and call it in. A company that stands behind its work will come back and fix the covered items before the warranty closes – which is exactly the standard we hold ourselves to under the Penhallow Remodeling Garland home guarantee: a written price before work starts, and a written promise to make it right if something fails.
North Texas Seasonal Maintenance
Garland’s climate gives you a specific set of seasonal maintenance needs that homeowners in milder parts of the country never think about. The two biggest are wood flooring and exterior caulk.
Wood flooring expansion. Texas summer humidity makes wood flooring swell and contract through the year. That’s why a proper install leaves an expansion gap along walls – the space that lets the floor move without buckling. Check baseboards and thresholds once a season; if you see a floor starting to cup or a gap opening at a transition, the floor needs a moisture check. Running a dehumidifier in summer and a humidifier in dry winter months keeps movement in check.
Exterior caulk in summer heat. The same heat that drives your AC also pushes on every exterior joint on the house. Inspect window and door caulk in late spring and early fall. If it’s cracked, remove it fully and re-caulk with an exterior-grade product – Quikrete and similar brands make patching compounds that hold up to Texas sun far better than interior products. Also check the driveway and walkway seams; products like Techo-Bloc and Cambridge Pavers used in exterior hardscaping need seasonal re-sanding of their joints to stay stable through the wet-and-dry cycle.
Winter brings its own job: before the first freeze, disconnect hoses, check exterior faucet covers, and confirm your attic insulation is holding. Dallas-area garages are typically unheated, so anything stored in an attached garage should be emptied of standing water before a hard freeze.
Common Mistakes to Avoid
- Skipping the 90-day caulk check. This is the single biggest mistake we see. The first inspection is the one the house most needs, and most homeowners wait a full year because nobody told them earlier.
- Ignoring a small grout crack in a shower. A 1-millimeter gap looks harmless, but in a wet area it’s a water path into the substrate, and the repair climbs from dozens of dollars to hundreds fast.
- Never changing the HVAC filter during construction dust season. Construction dust clogs filters far faster than normal use. Skipping the extra filter swaps is hard on your system.
- Painting over a growing drywall crack. If it’s the kind that’s moving, paint hides it for a few weeks and then the crack returns wider. Take dated photos first and get it looked at.
- Waiting until after the workmanship warranty expires to report an issue. Coverage only helps if you file the claim while it’s still active. Do the final walk before the year runs out.
- Ignoring wood-floor expansion gaps after a seasonal swing. A floor that’s buckling or cupping in July is telling you it needs moisture management now, not in another year.
- Testing GFCI outlets once – at install – and never again. GFCIs can fail silently. Test them annually; it takes seconds and protects you from the worst kind of surprise.
When to Call a Professional
Some items belong on a homeowner’s calendar. Some don’t. A drywall crack wider than a quarter inch that’s still growing, a tub surround where caulk keeps reopening no matter how often you touch it up, a floor that’s cupping despite a dehumidifier, or any sign of water staining behind tile – these are contractor work, not weekend work. A general contractor can trace the cause back to the substrate and fix it properly, which is cheaper than fixing the same surface twice.
If you’re in Garland and something on this schedule is telling you it’s time for a closer look, a free estimate is the right first step. As the general contractor in Garland that puts the price in writing before any work begins, we’ll tell you exactly what needs doing and what it costs. Call (844) 560-4146 to schedule a free estimate – a real person answers around the clock, and there’s no cost to talk it through.
See the difference
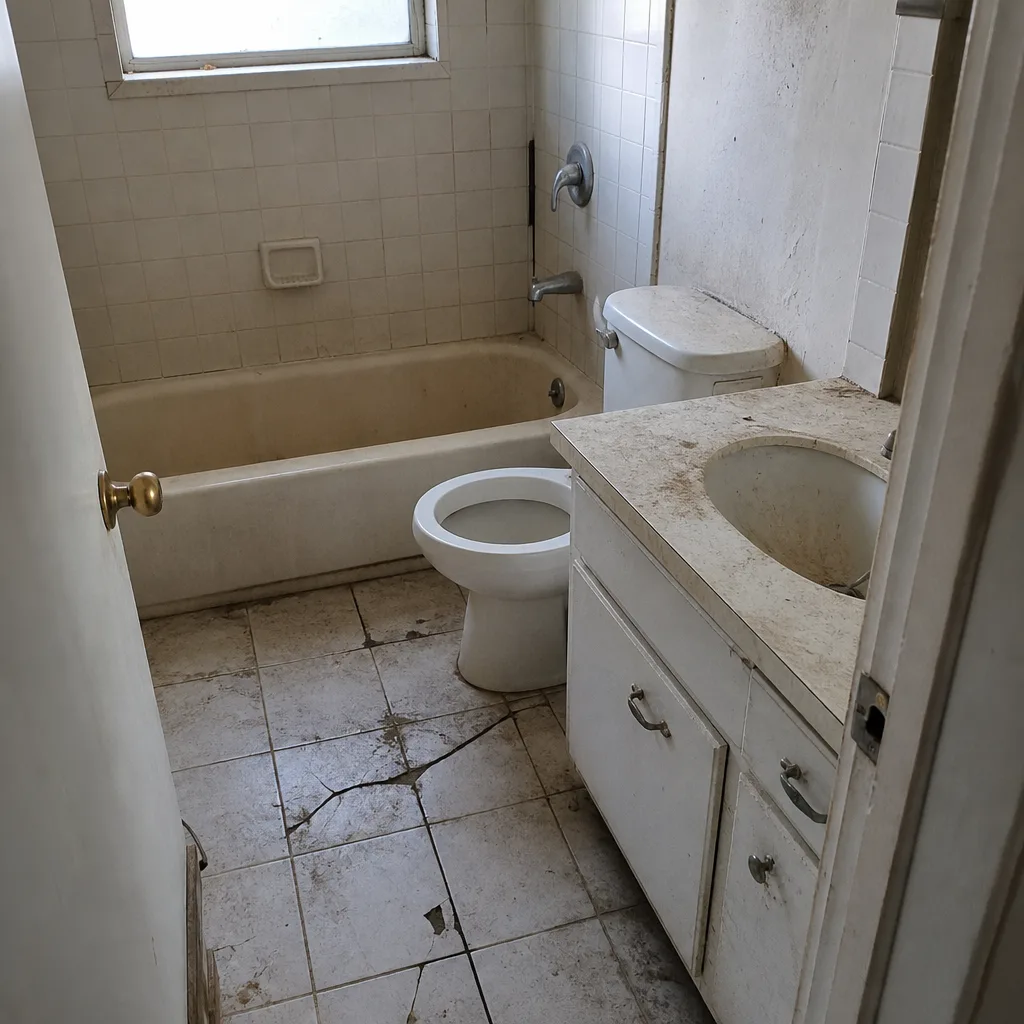 Before
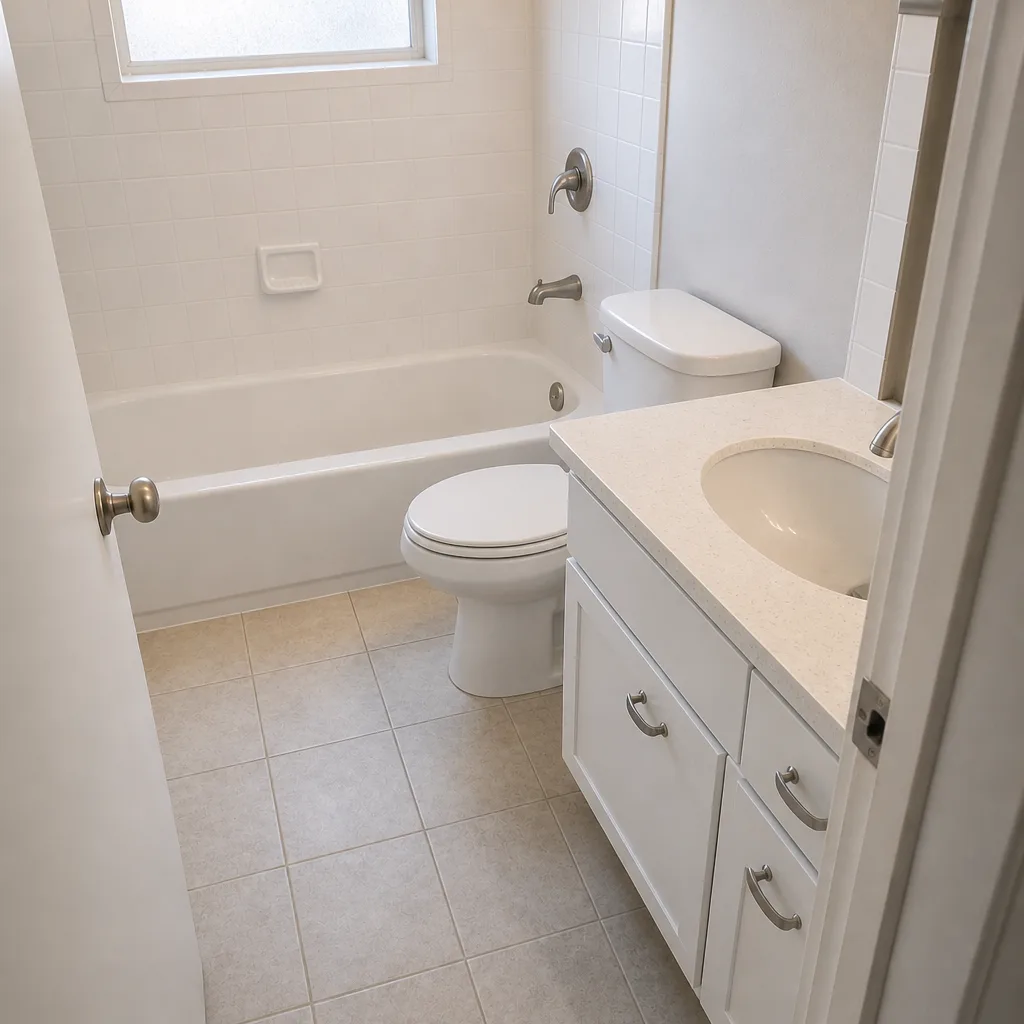 After
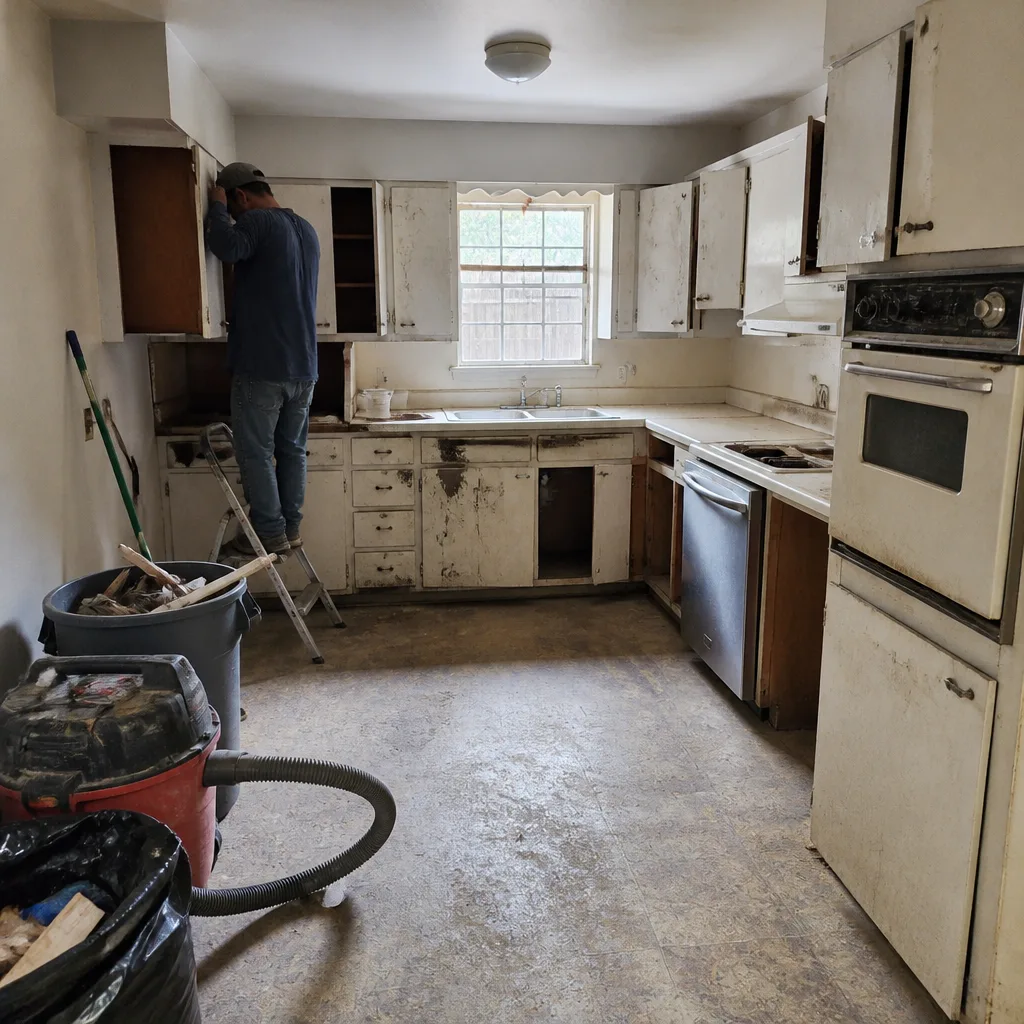 Before
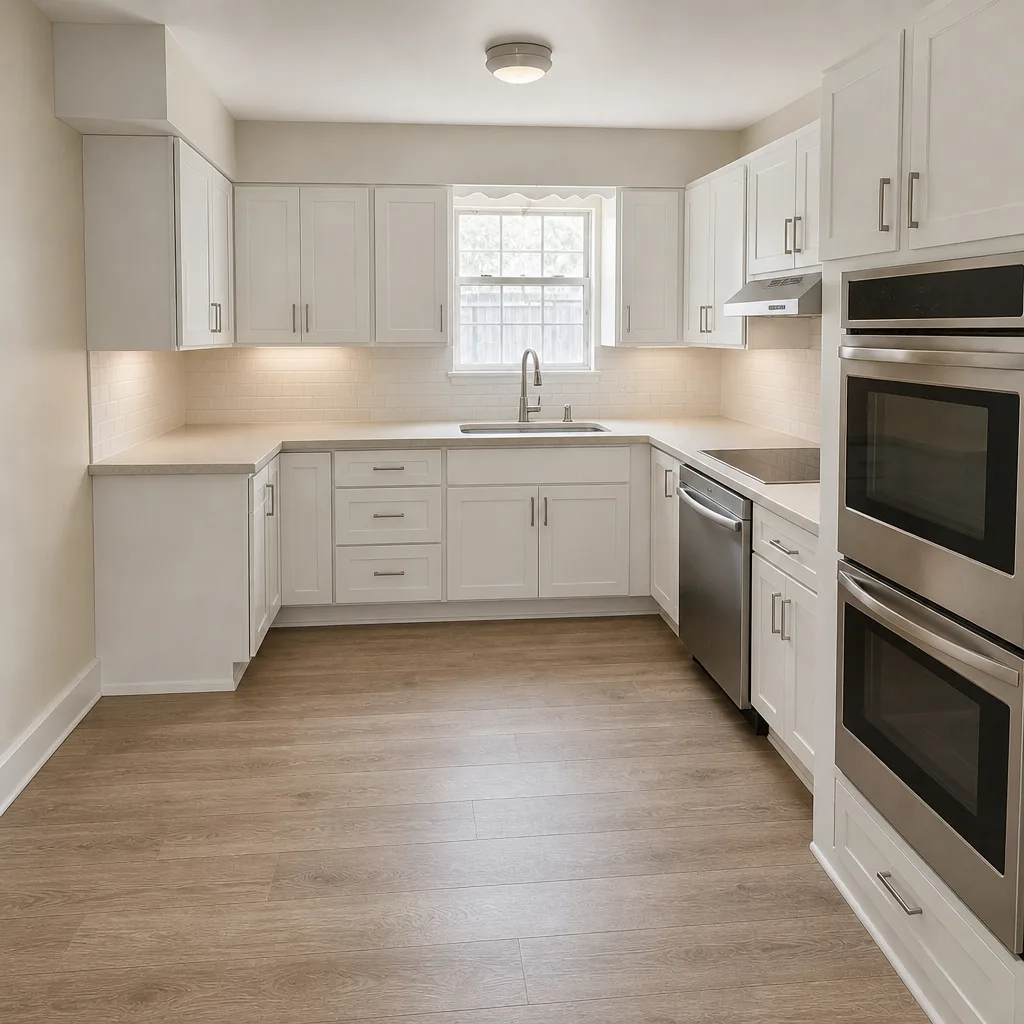 After
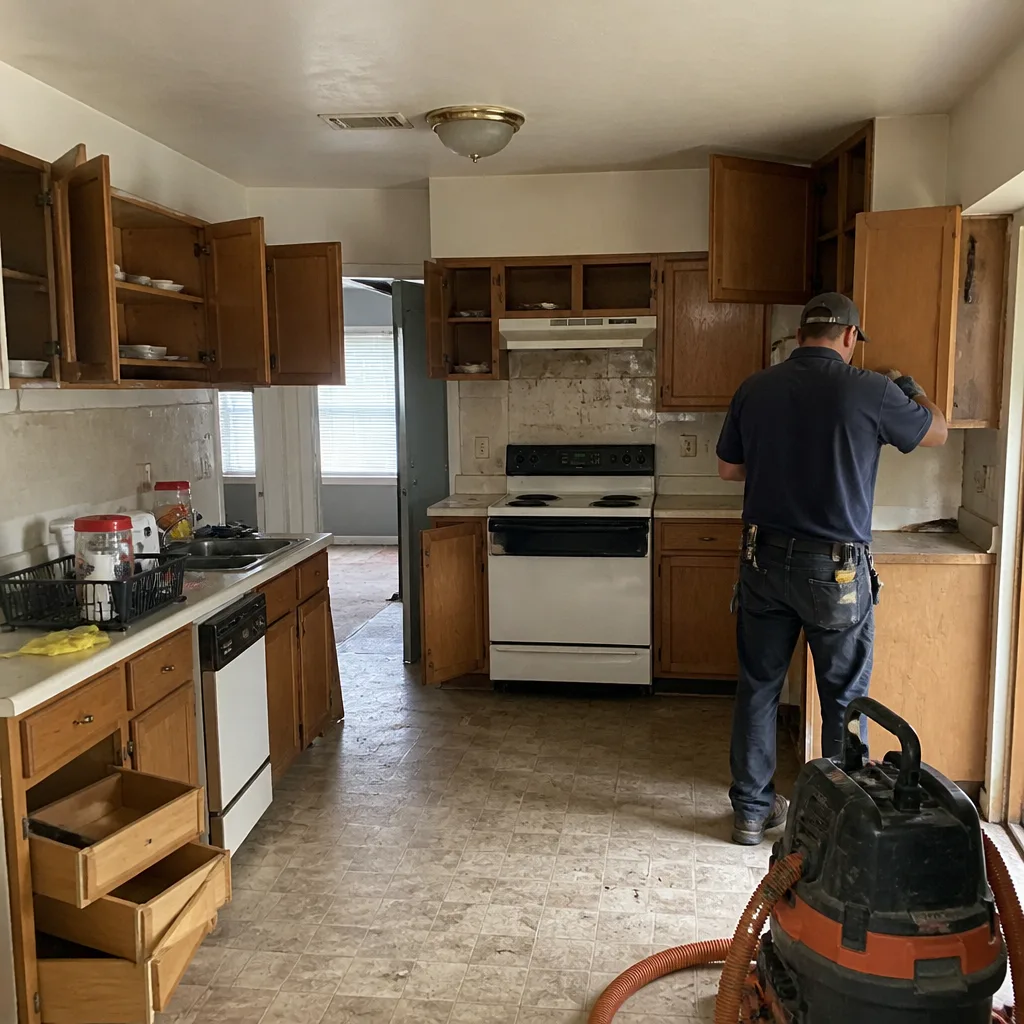 Before
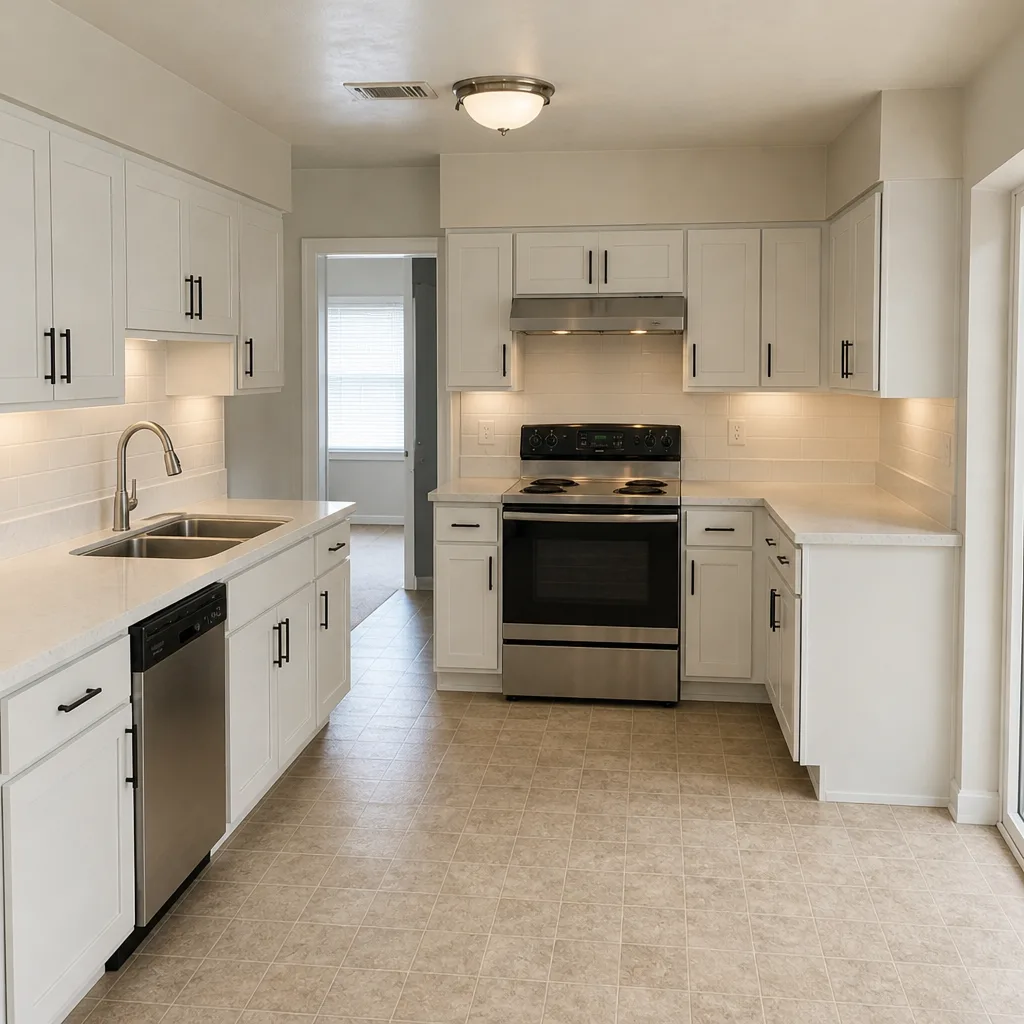 After
Frequently Asked Questions

Check at 30 days, again at 60, and again at 90. The house moves most in the first few months after construction, so a small gap at 90 days is far cheaper to seal than a substrate issue at 12 months.
Hairline cracks at corners, door frames, and ceiling seams are normal settling and usually minor. A crack wider than a quarter inch that keeps growing, or one with soft or damp drywall around it, needs a professional look – call us at (844) 560-4146 if you’re not sure which you’re dealing with.
Yes. Replace it at 60 days and then every 30 to 60 days until the dust clears. Construction dust loads a filter far faster than normal household use, and running on a clogged filter strains the system.
Wood flooring expands when humidity is high and contracts when it’s dry, which is why good installs leave an expansion gap at the wall. A gap appearing is usually the floor doing what it should; cupping or buckling is the sign to check moisture levels.
Walk every caulk line, grout joint, drywall seam, cabinet door, floor transition, and plumbing fixture in the remodeled space, and report anything that wasn’t right on day one. Claims only work while the warranty is active, so do the final walk 60 days before it expires.
Routine top-up caulking is fine to do yourself. If the caulk keeps reopening or you see water behind the tile, that’s a sign of a substrate problem and calls for a contractor – the surface fix won’t hold. Call (844) 560-4146 for an honest assessment.
The Bottom Line
The maintenance window that matters most starts the day the crew leaves, not a year later. Check caulk, grout, doors, and filters at 30, 60, and 90 days. Move to an annual routine after that, with extra attention to wet-area grout, GFCI tests, and cabinet hardware. Watch drywall cracks for growth, respect the North Texas heat-and-dry cycle, and do your warranty walk before the year runs out. If you’d rather not manage this alone, our team is happy to put the plan in writing – call (844) 560-4146 for a free estimate.
Written by the team at Penhallow Remodeling Garland.